Found the YouTube video How To Reverse Engineer A Bluetooth Device and started to follow it but it did not really work as expected so record all differences here.
The HCI snoop log were not available in \FS\data\misc\bluetooth\logs but rather in \FS\data\log\bt.
The bluetooth device was disabled on my Raspberry Pi 3, needed to run the following commands sudo rfkill unblock all<br />sudo hciconfig hci0 up
Scan for the device: sudo hcitool lescan | grep "C7:57"
I found https://github.com/koosoli/ESPHomeDesigner before Christmas and it seemed to be a really nice tool so decided to try it out. And soon I was contributing some. Here is some notes from that.
cd /tmp
git clone https://github.com/koosoli/ESPHomeDesigner.git
cd ESPHomeDesigner
git switch testing
git pull
cp -r custom_components/esphome_designer /homeassistant/custom_components
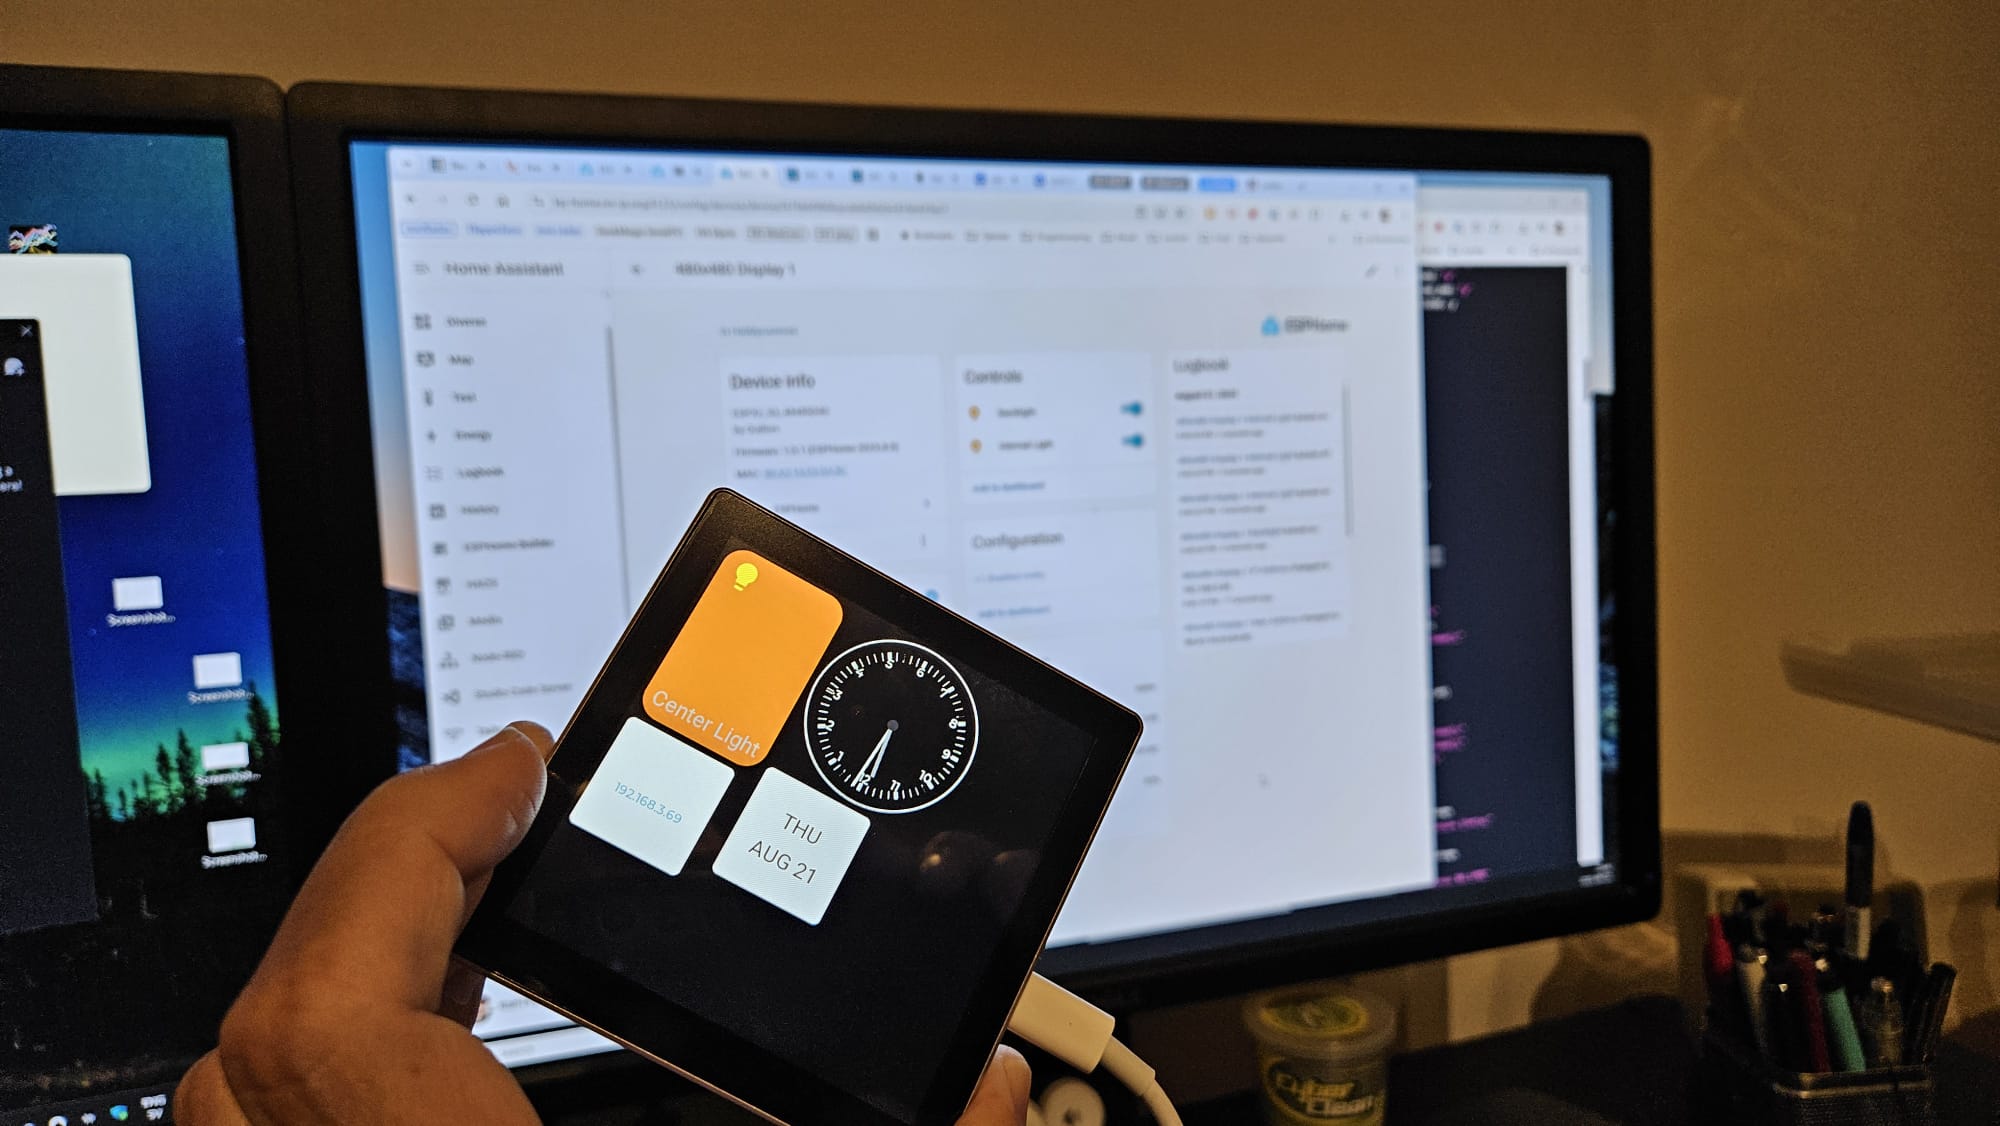
One of my friends told me about the Guiton capacity touch display with GT911 and an integrated ESP32. And it did not cost that much. The Guiton ESPHome config made it easy to get it working in Home Assistant
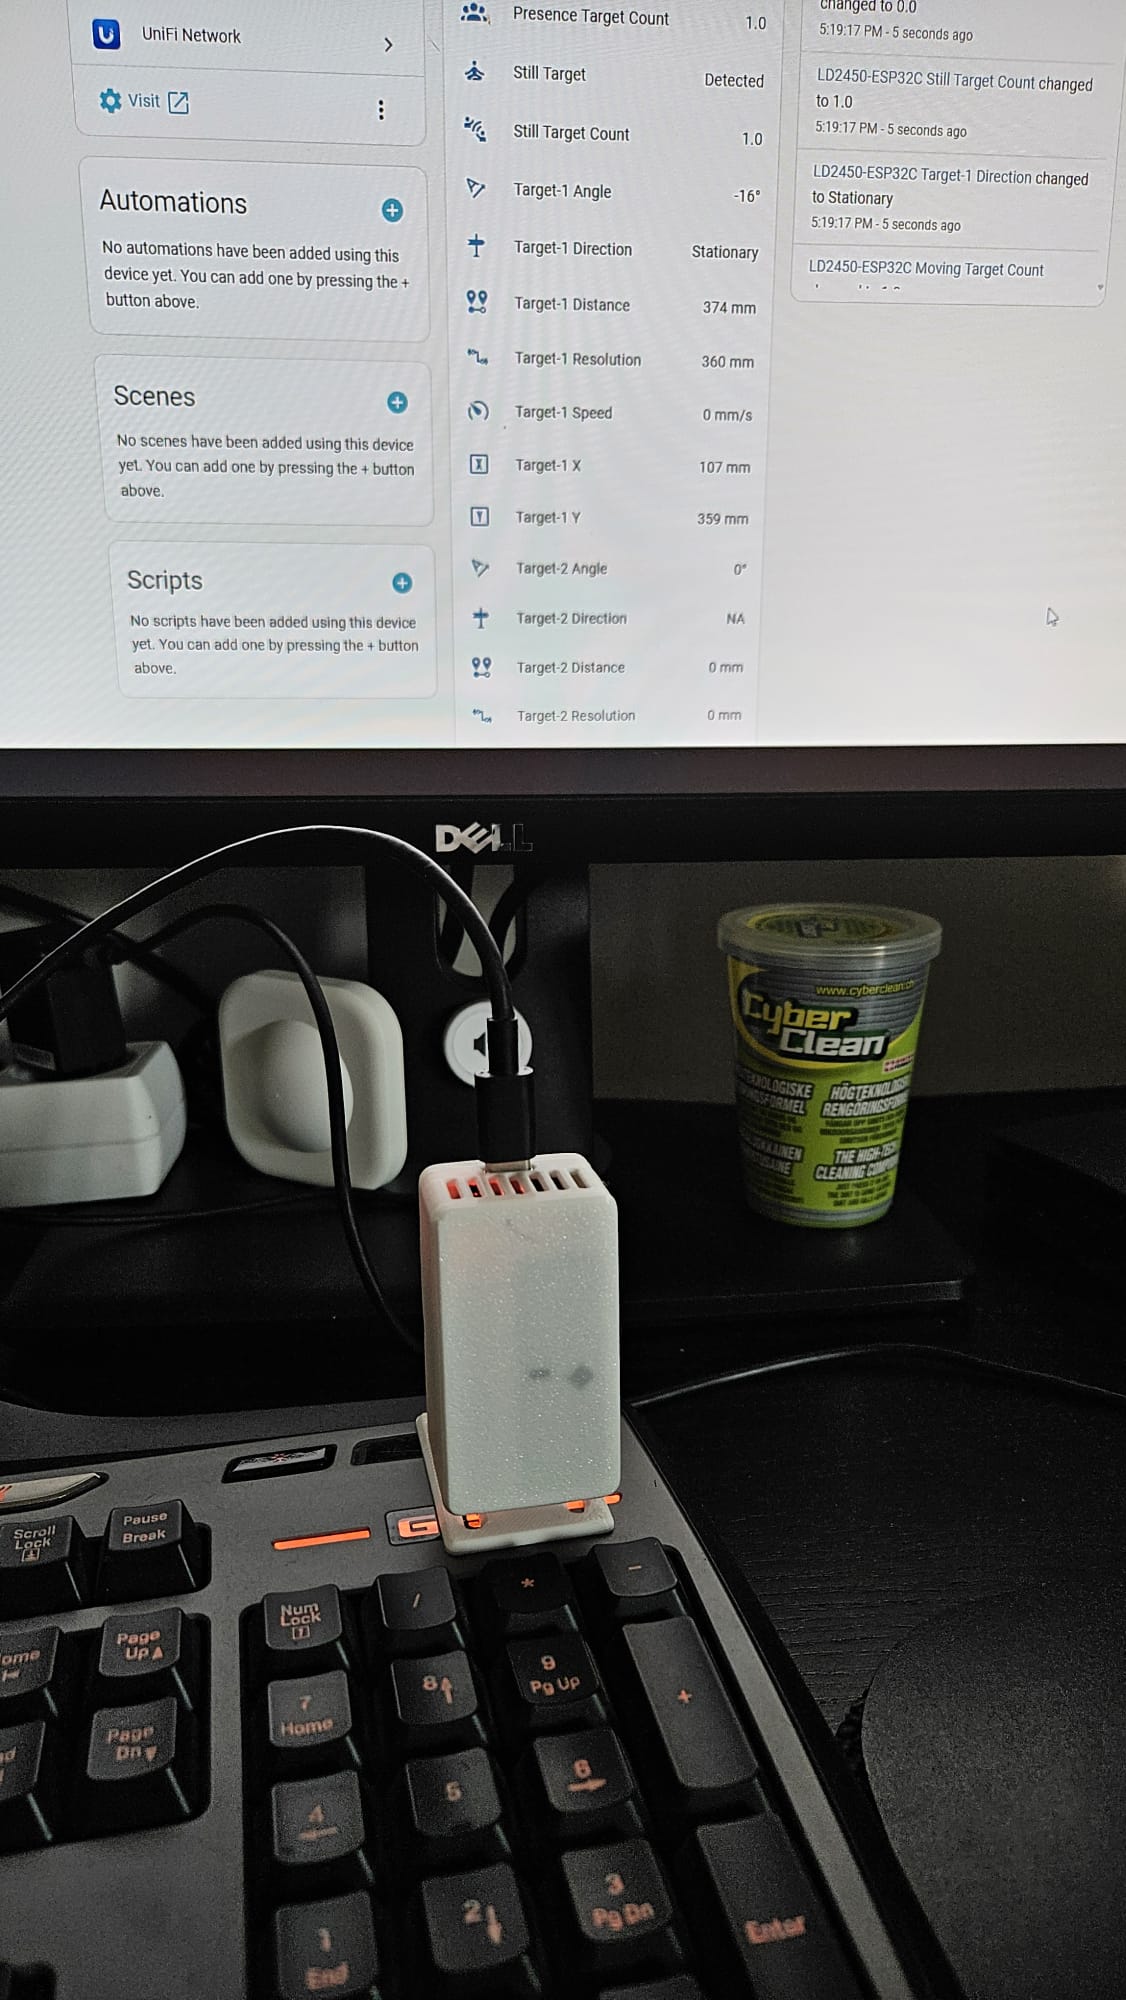
Some time ago I read about these and they were did not cost much. I bought these from AliExpress. So I ordered some different ones. Recently I found some time to experiment with one of them, the LD2450 (The AliExpress item I bought). On the product page there is a link to a Google drive with documents and software for this module.
I had previously tried one of the others briefly but unsuccessfully. So this time I took a bit different path.
I read that several (maybe all?) of these has built in Bluetooth so I downloaded the HLKRadarTool (iOS or Android) to my phone and powered up the module and connected the phone to it. It worked directly and it was easy to evaluate how the device performed.
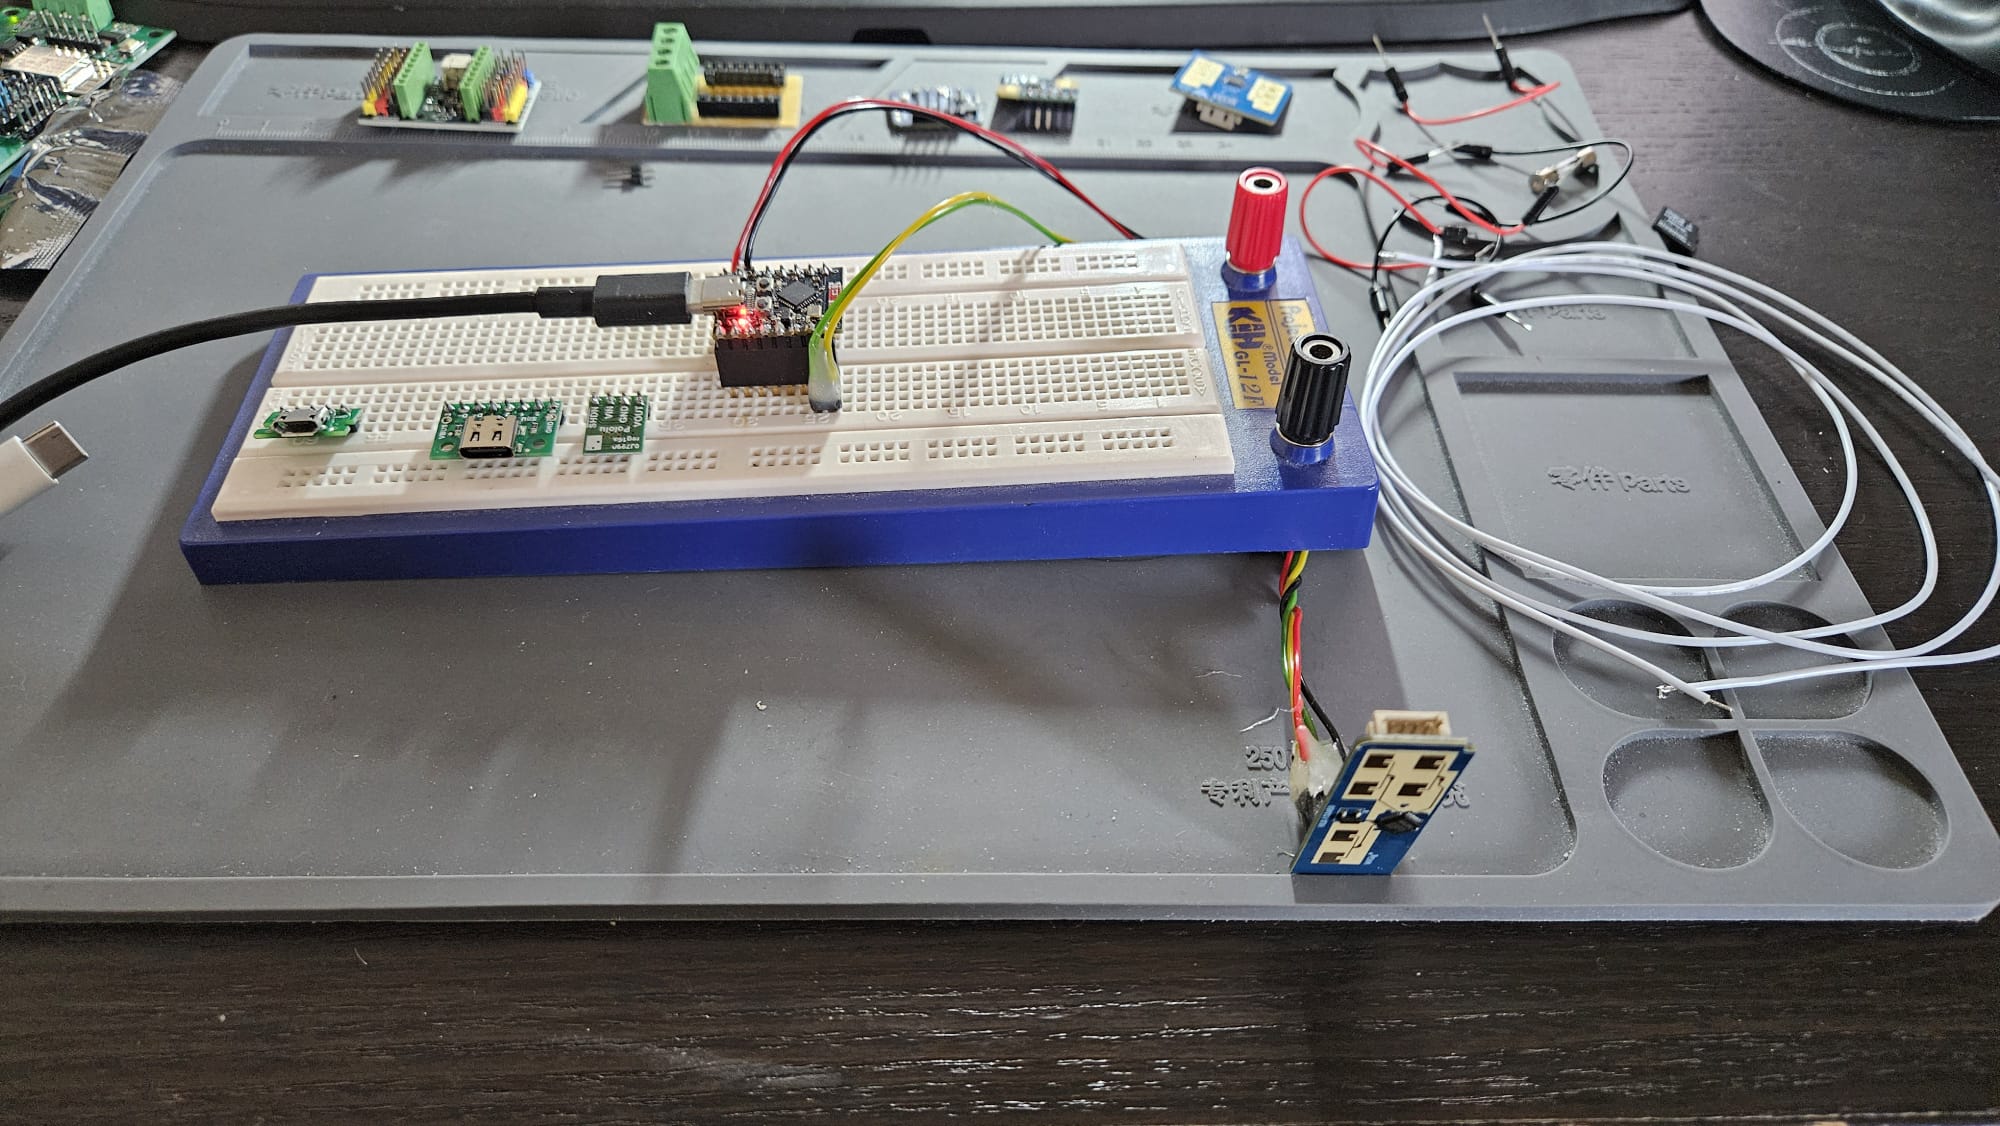
Once I know it worked well it was time to connect it to an ESP32. The manual made it easy to understand what pins to use on the radar module. I had some ESP32-C3 modules at home so I decided to use it. The model I had was Tenstar Robot Super Mini and the pinout made it easy to figure out how to connect RX and TX on the sensor to TX and RX on the ESP32.
Wanted to experiment a bit with Home-Assistant while travelling. And wanted to be able to run as much as possibly locally on the laptop instead of connecting to my home setup since network connectivity is not always reliable.
So here is a short summary how I set it up.
Docker Desktop
I already had Docker Desktop setup with a free Docker Personal account. If you do not have it setup already, download and install it.
Then start the the container or containers with docker compose like
docker-compose up -d
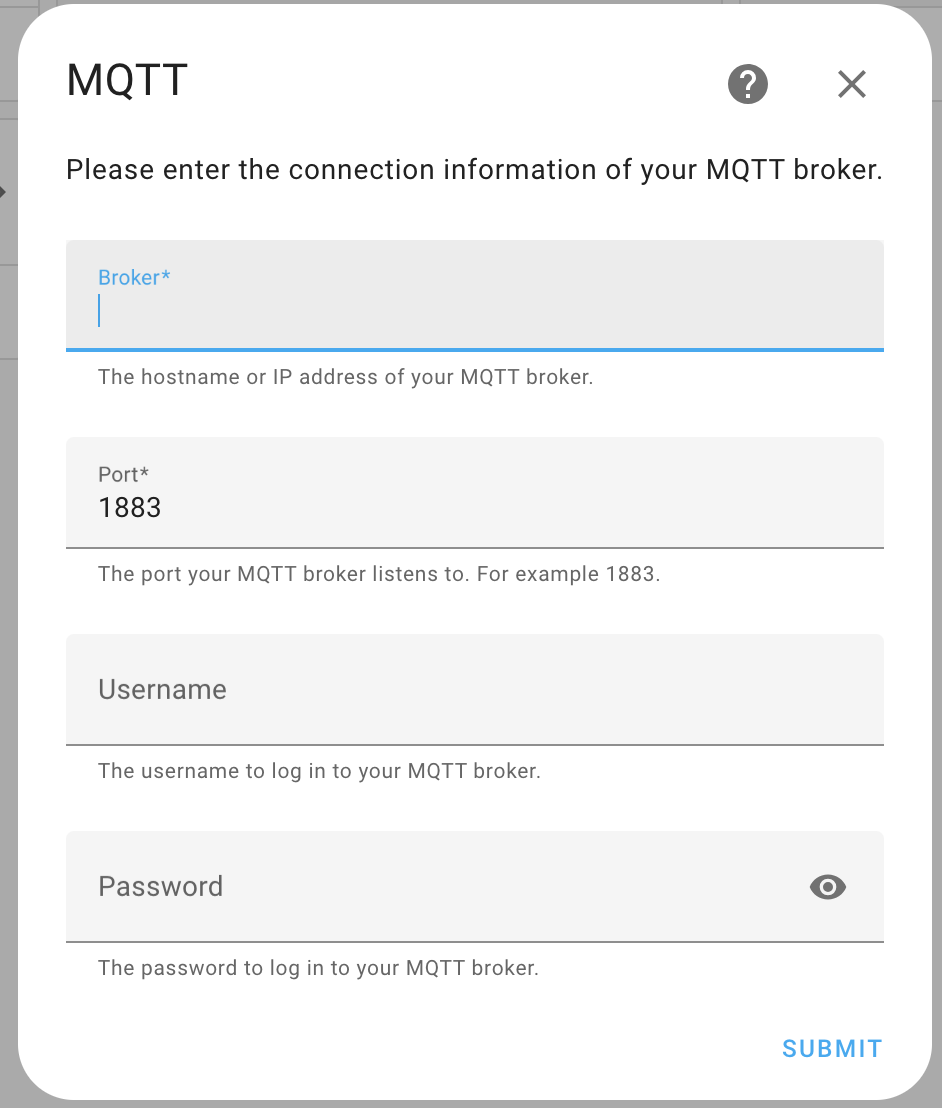
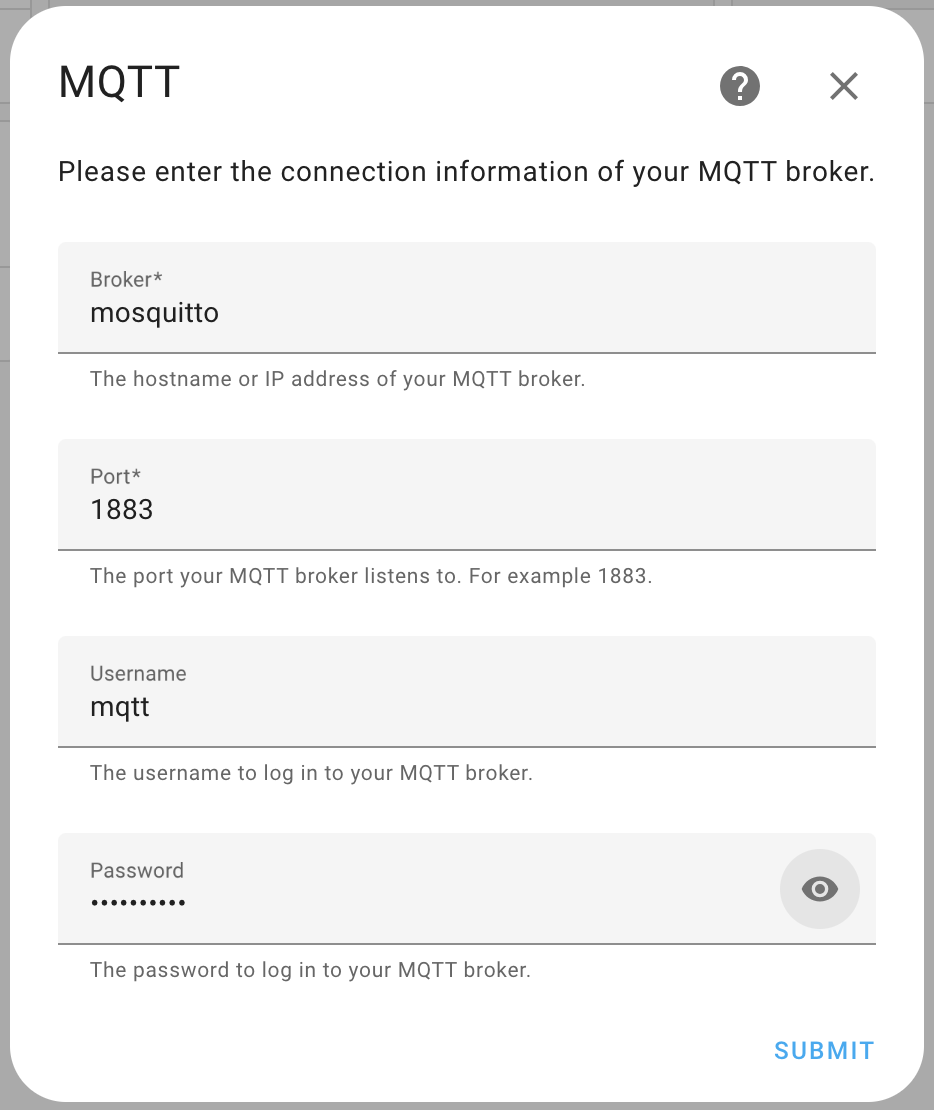
Configure login to mosquitto
You now have both Home Assistant and Mosquitto running but before connecting the two you want to setup authentication in Mosquitto. This is just a simple setup with only one account.
In Docker Desktop, view your containers by clicking Containers in the left menu. Find the mosquitto one and click on its name. Then select the Exec tab and execute the following command
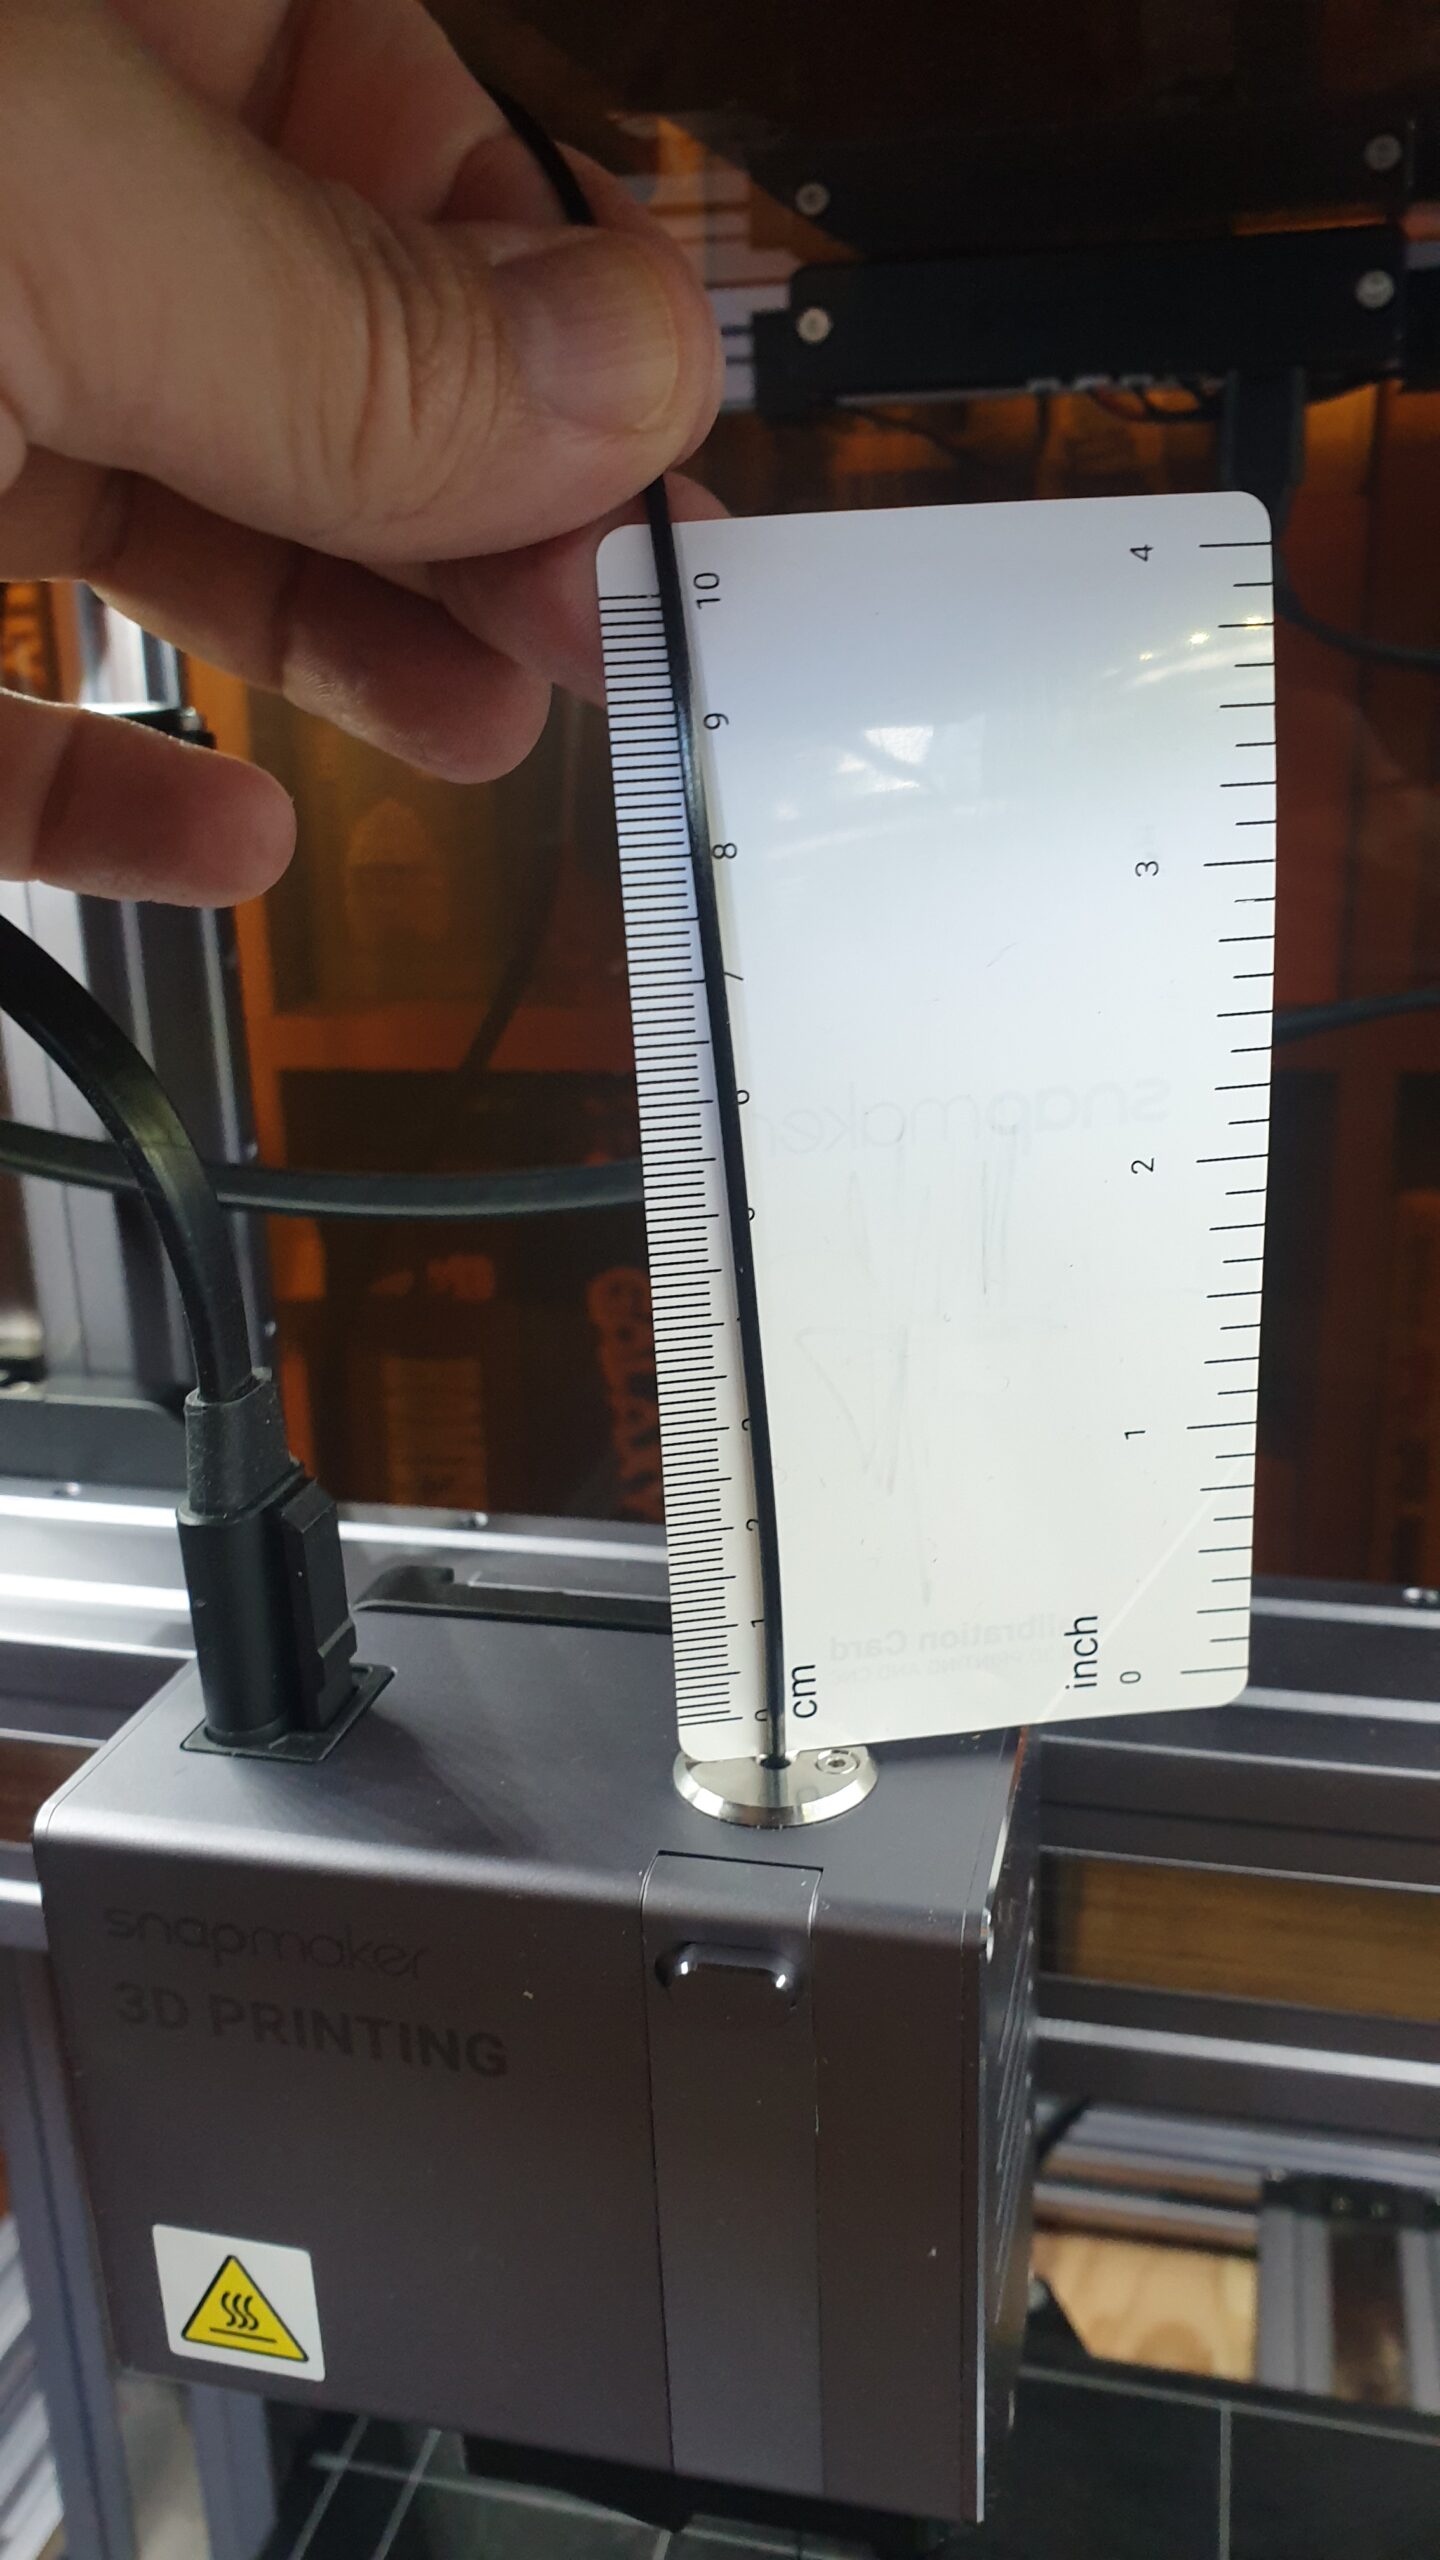
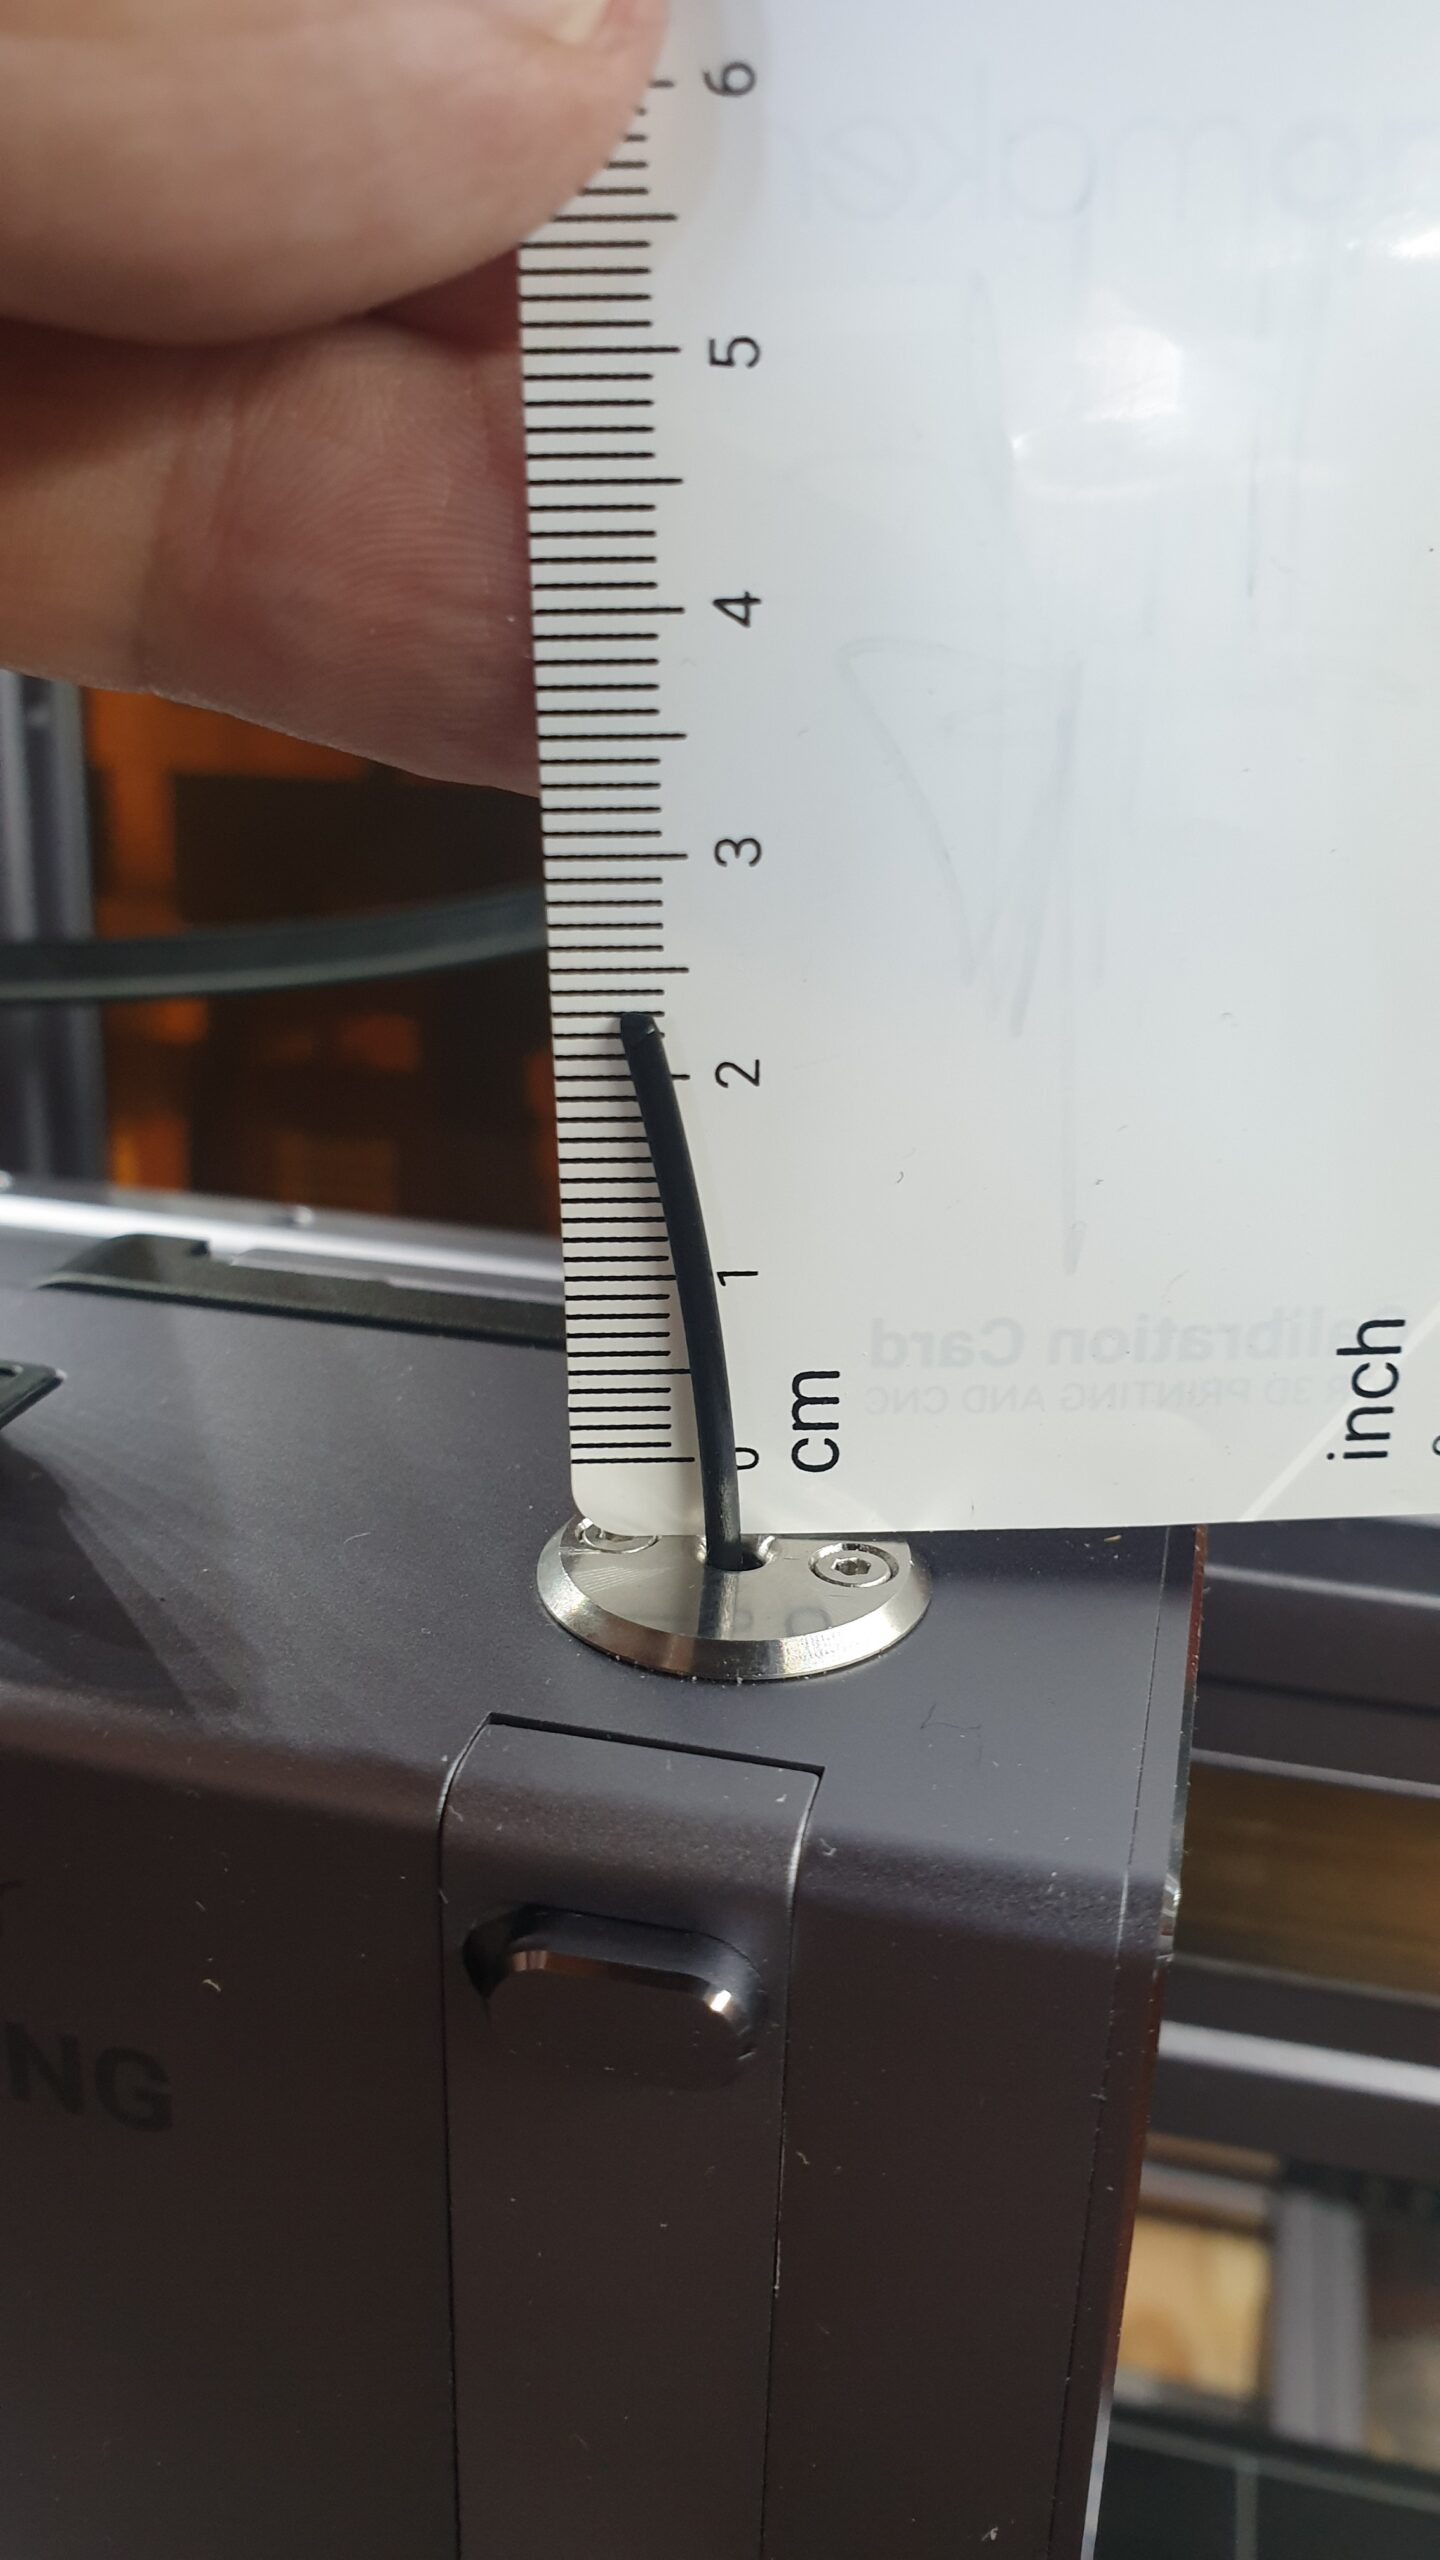
I use the calibration card to measure and cut the filament at 10 on the card, i.e 100mm plus the dead space before the 0. But since I measure the extruded distance also with this space it can be ignored.
Make sure the hot end has reached the correct temperature for the filament you are calibrating with. And issue the command to start feeding the 100mm of filament. Once that finished measure the amount of filament left.
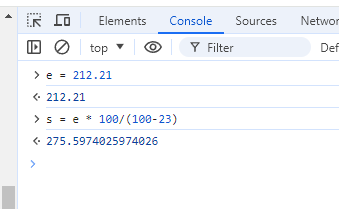
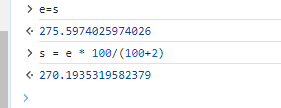
I had 23mm left this time. Then it is time to do the calculation. I find it easiest to start the developer tools in the browser. In the console there I just enter the expressions in the article.
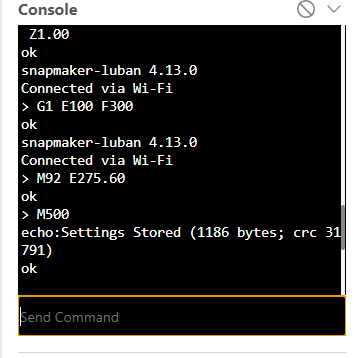
Then use the Luban console to enter the newly calculated value and permanently store it. If you want to understand the M-commands like M92 this page was good, https://snapmaker.github.io/Documentation/gcode/M092
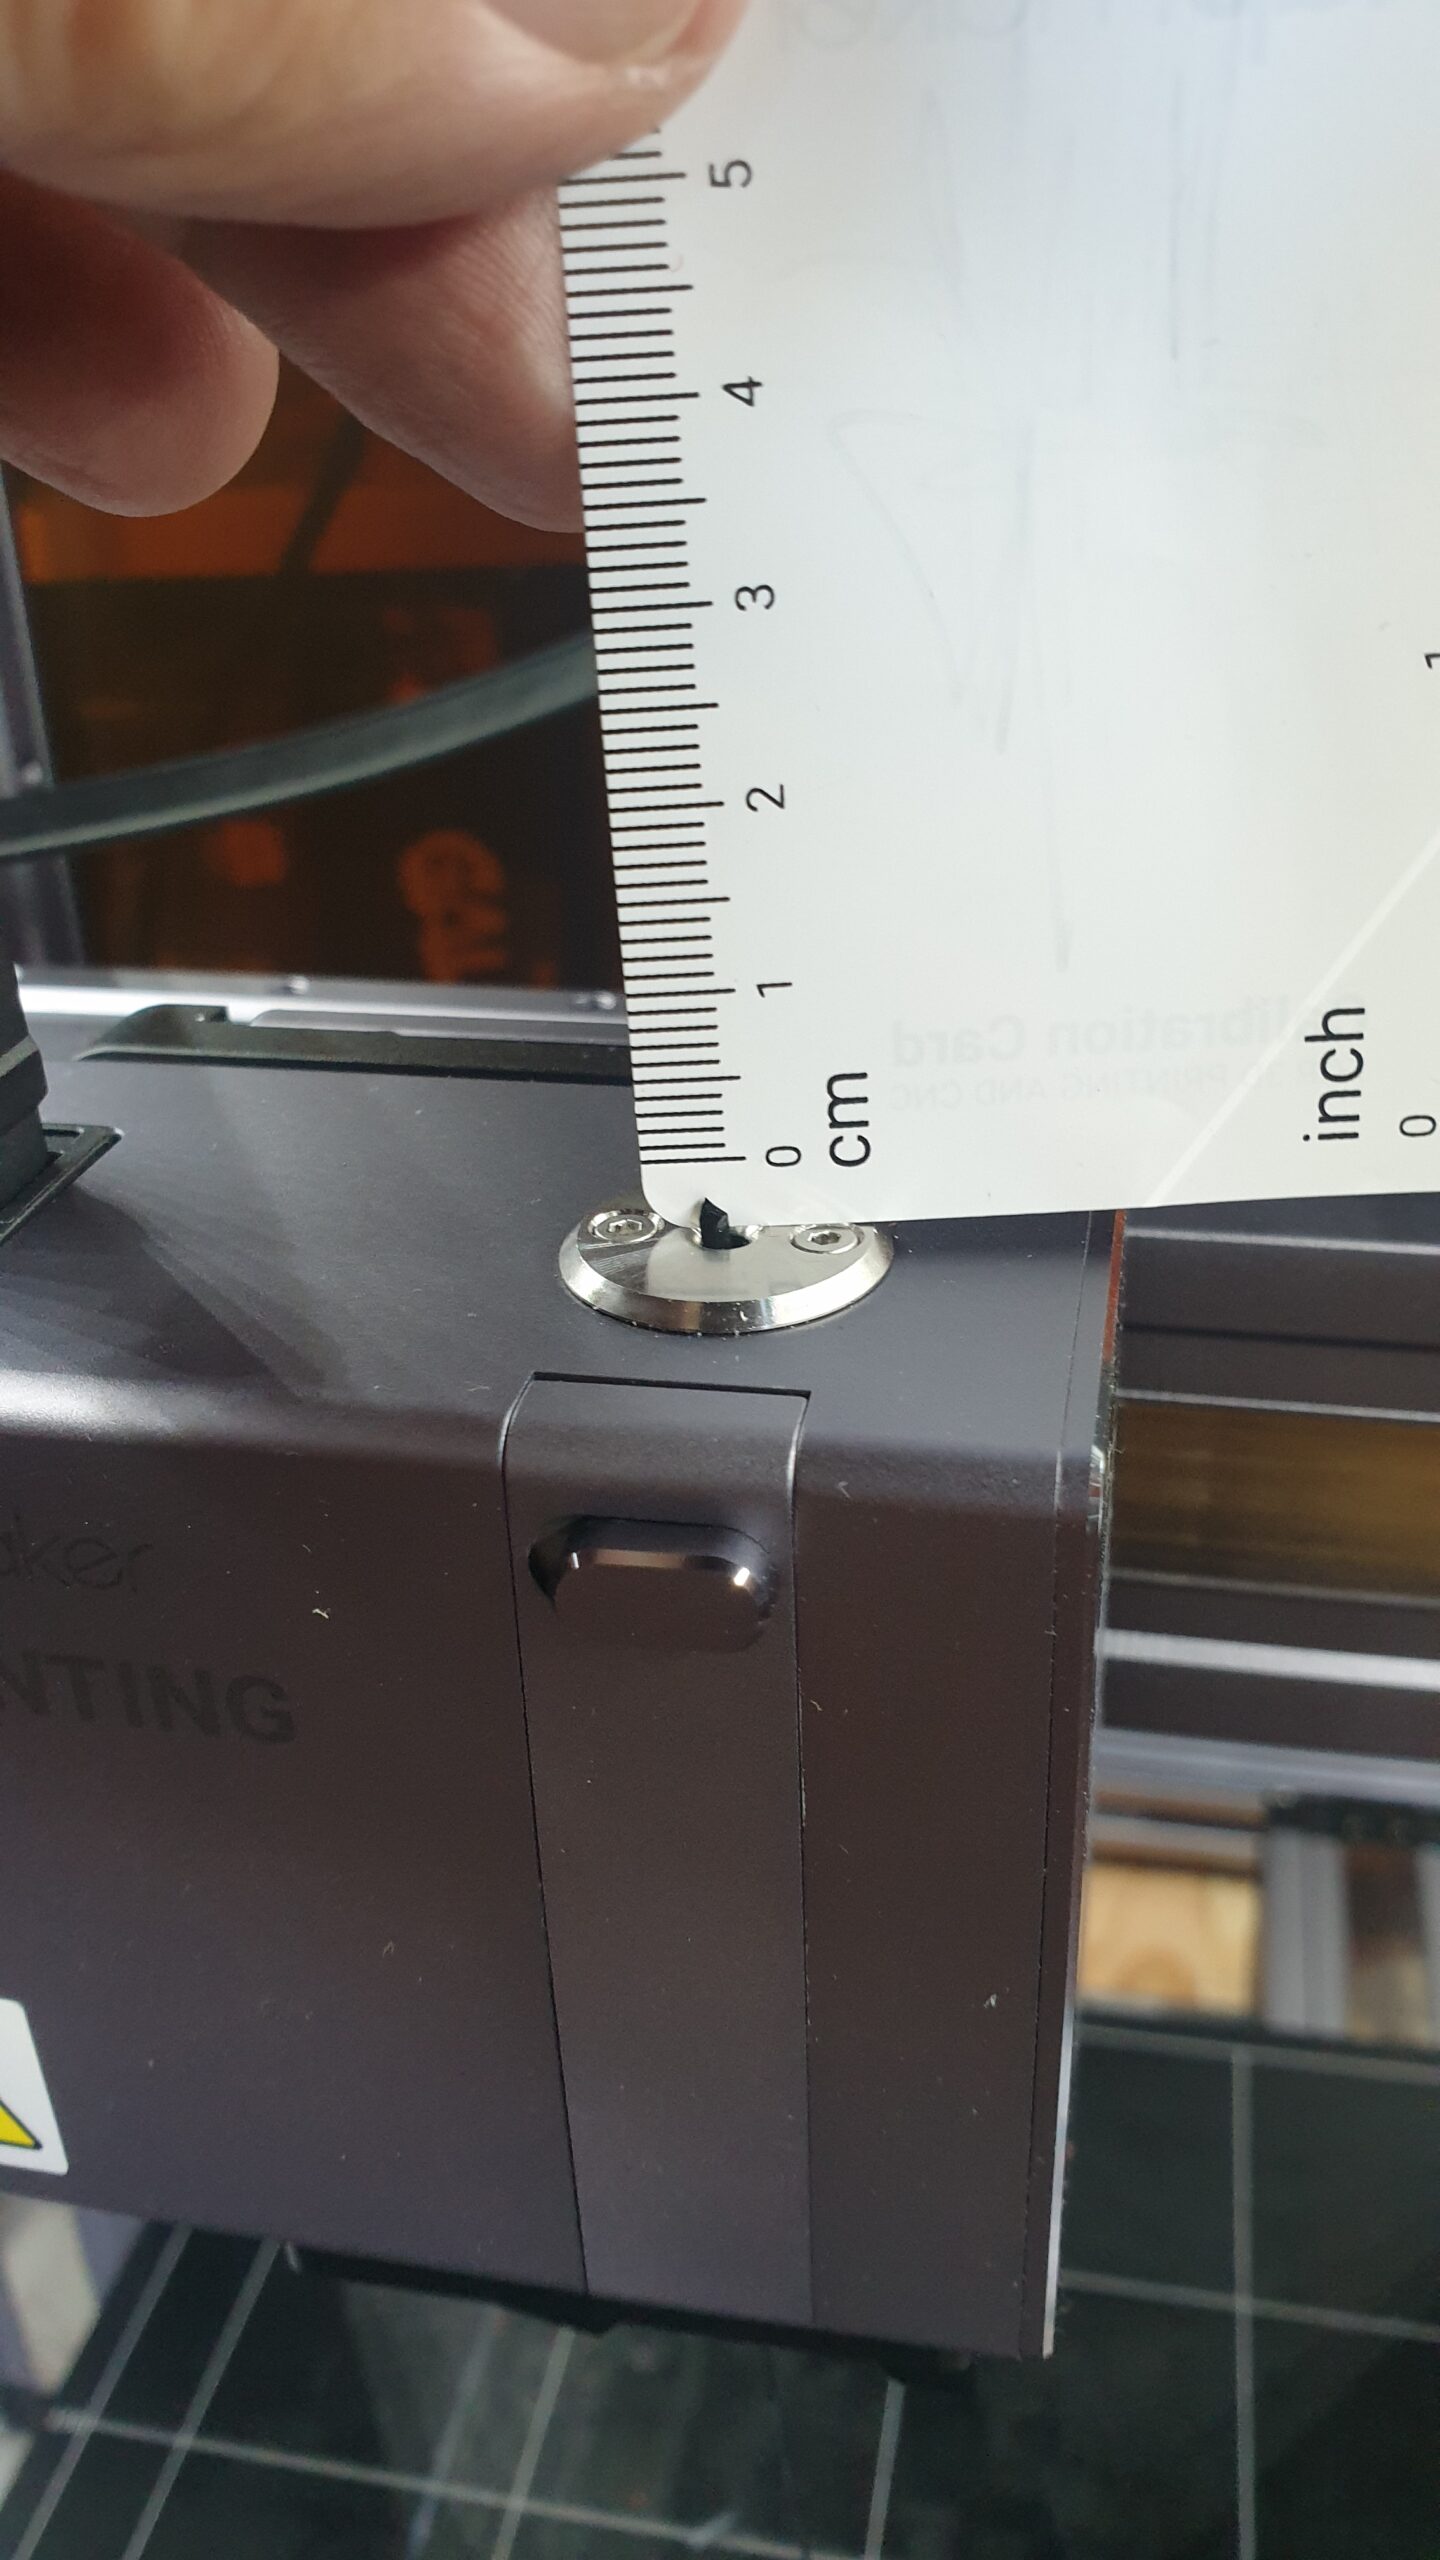
Finally make a test run with the same command that feeds 100mm of filament. Mine fed a few mm of extra filament.
This time I ignored the difference but if you want you can re-calibrate. Use your calculated S value as the new E in the calculation and enter how much filament that has been fed. Repeat until you are satisfied.
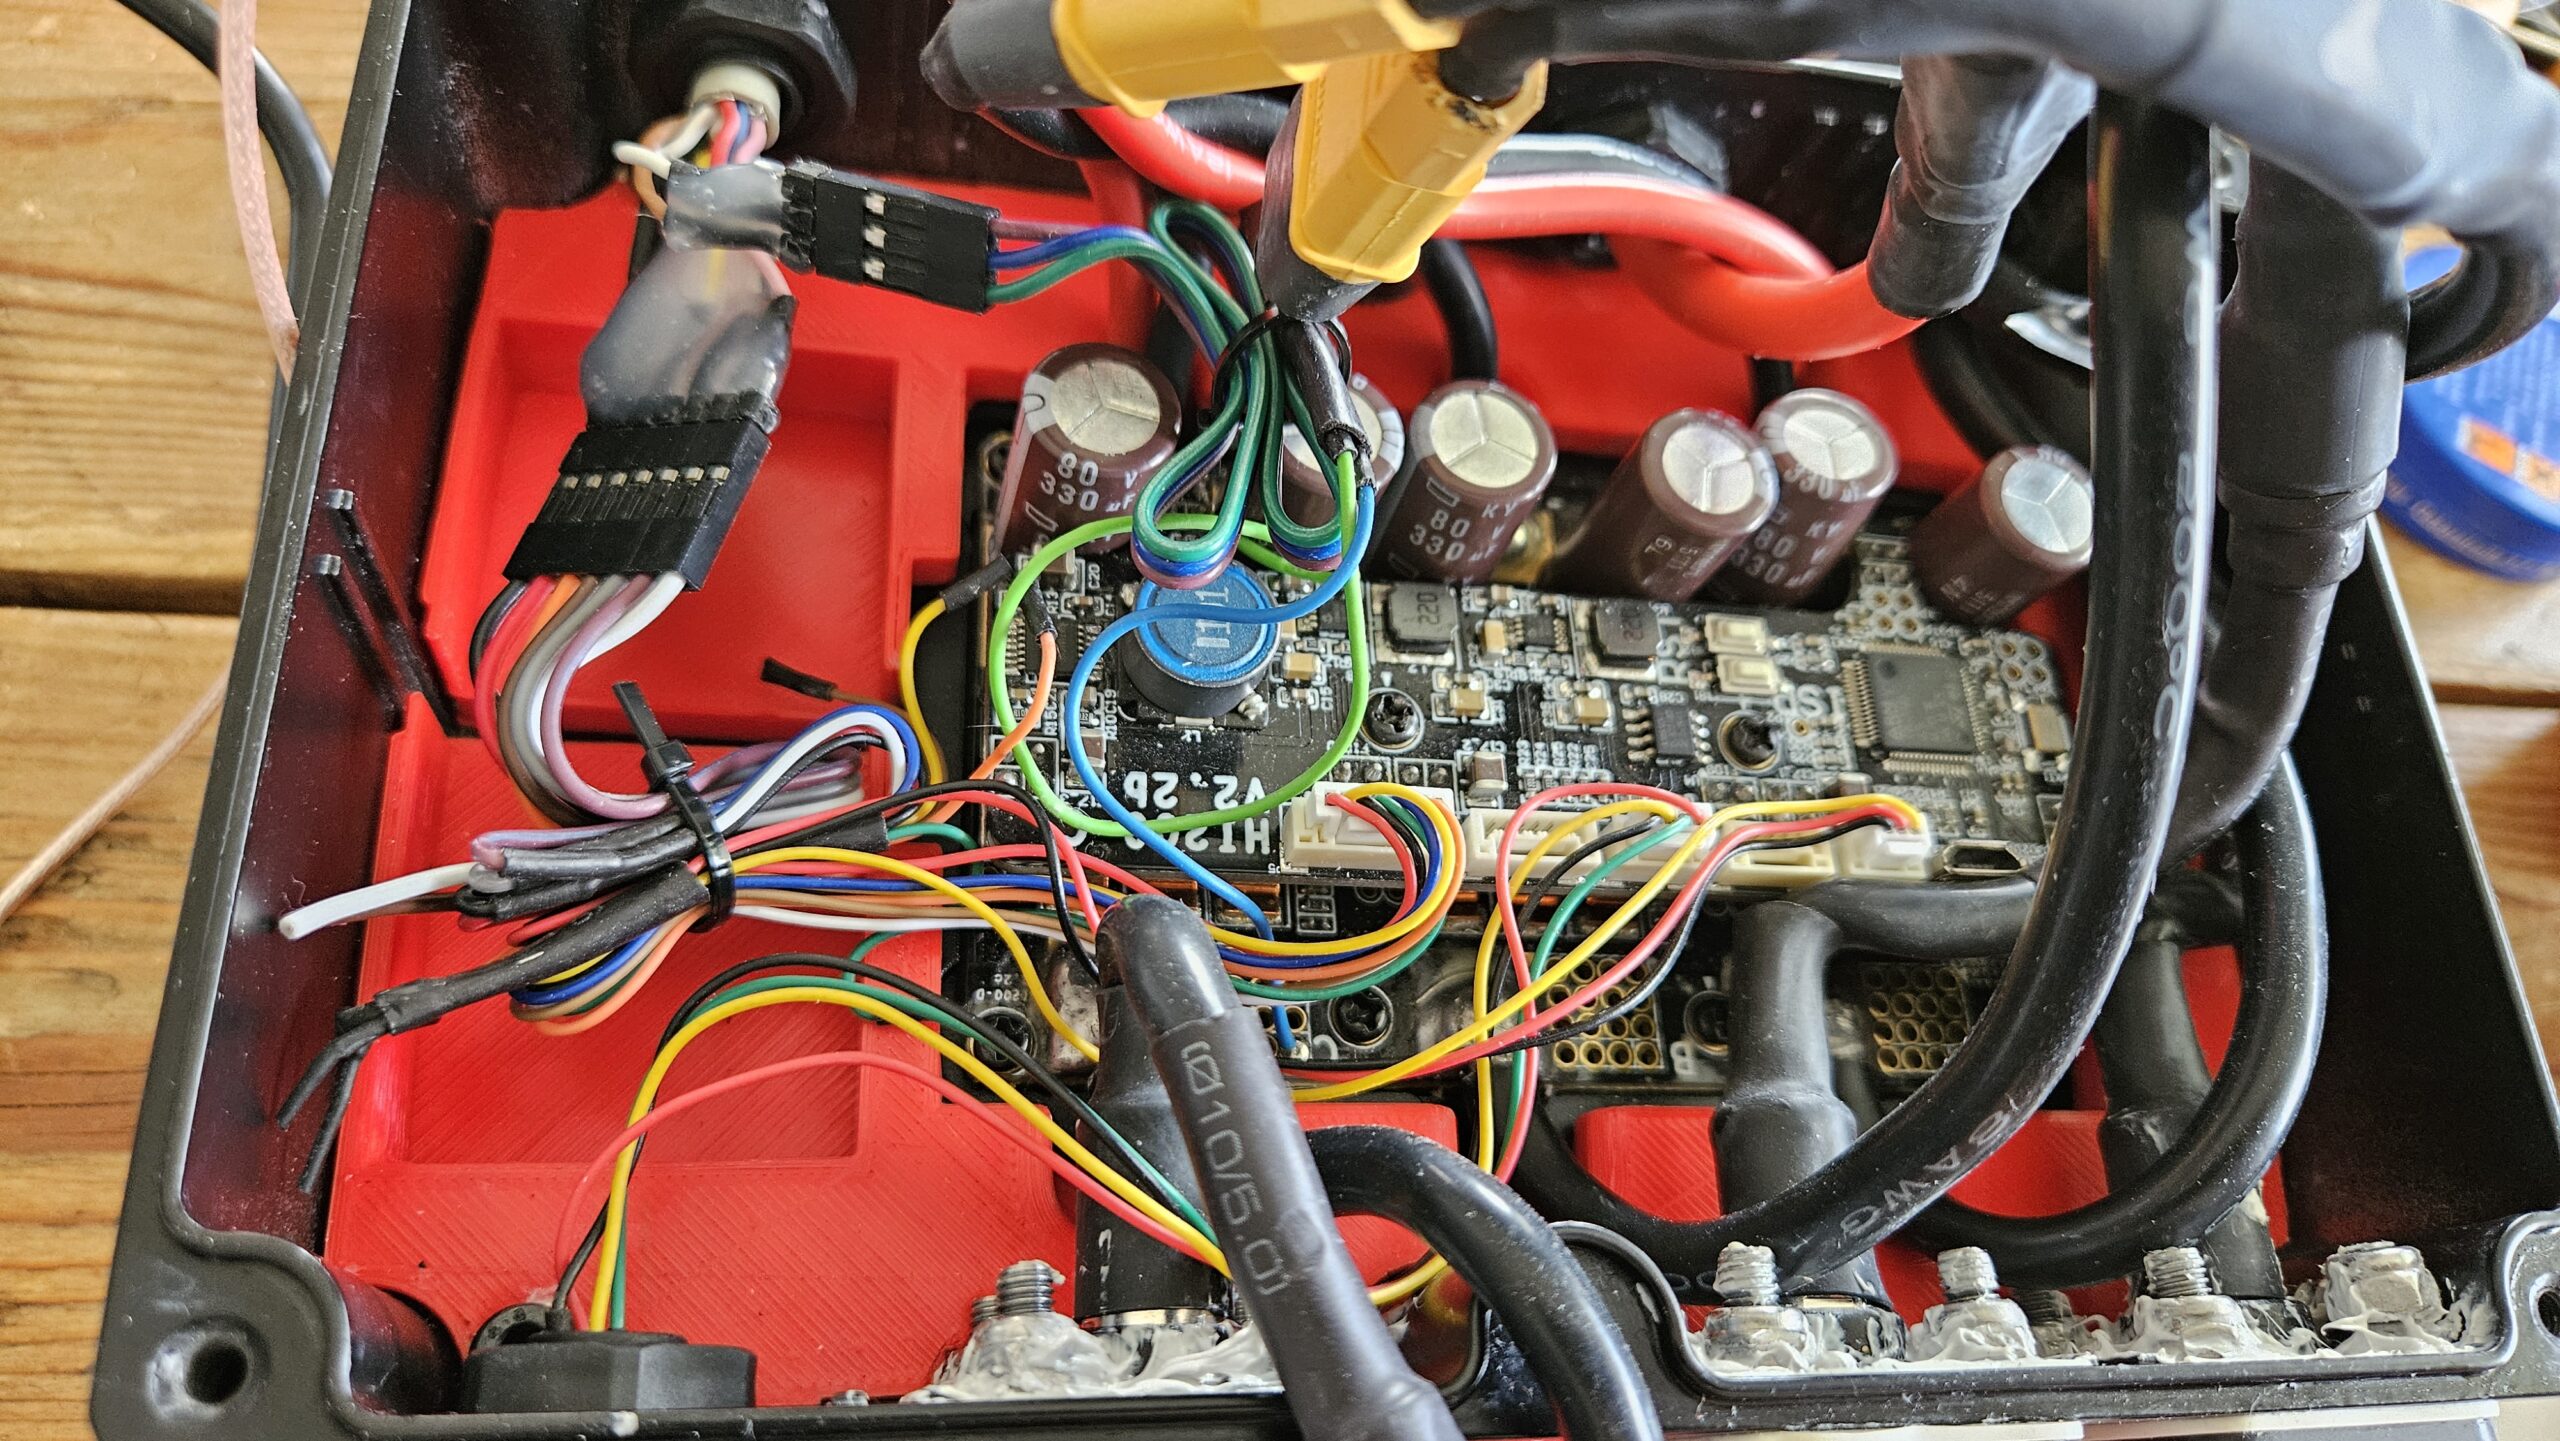
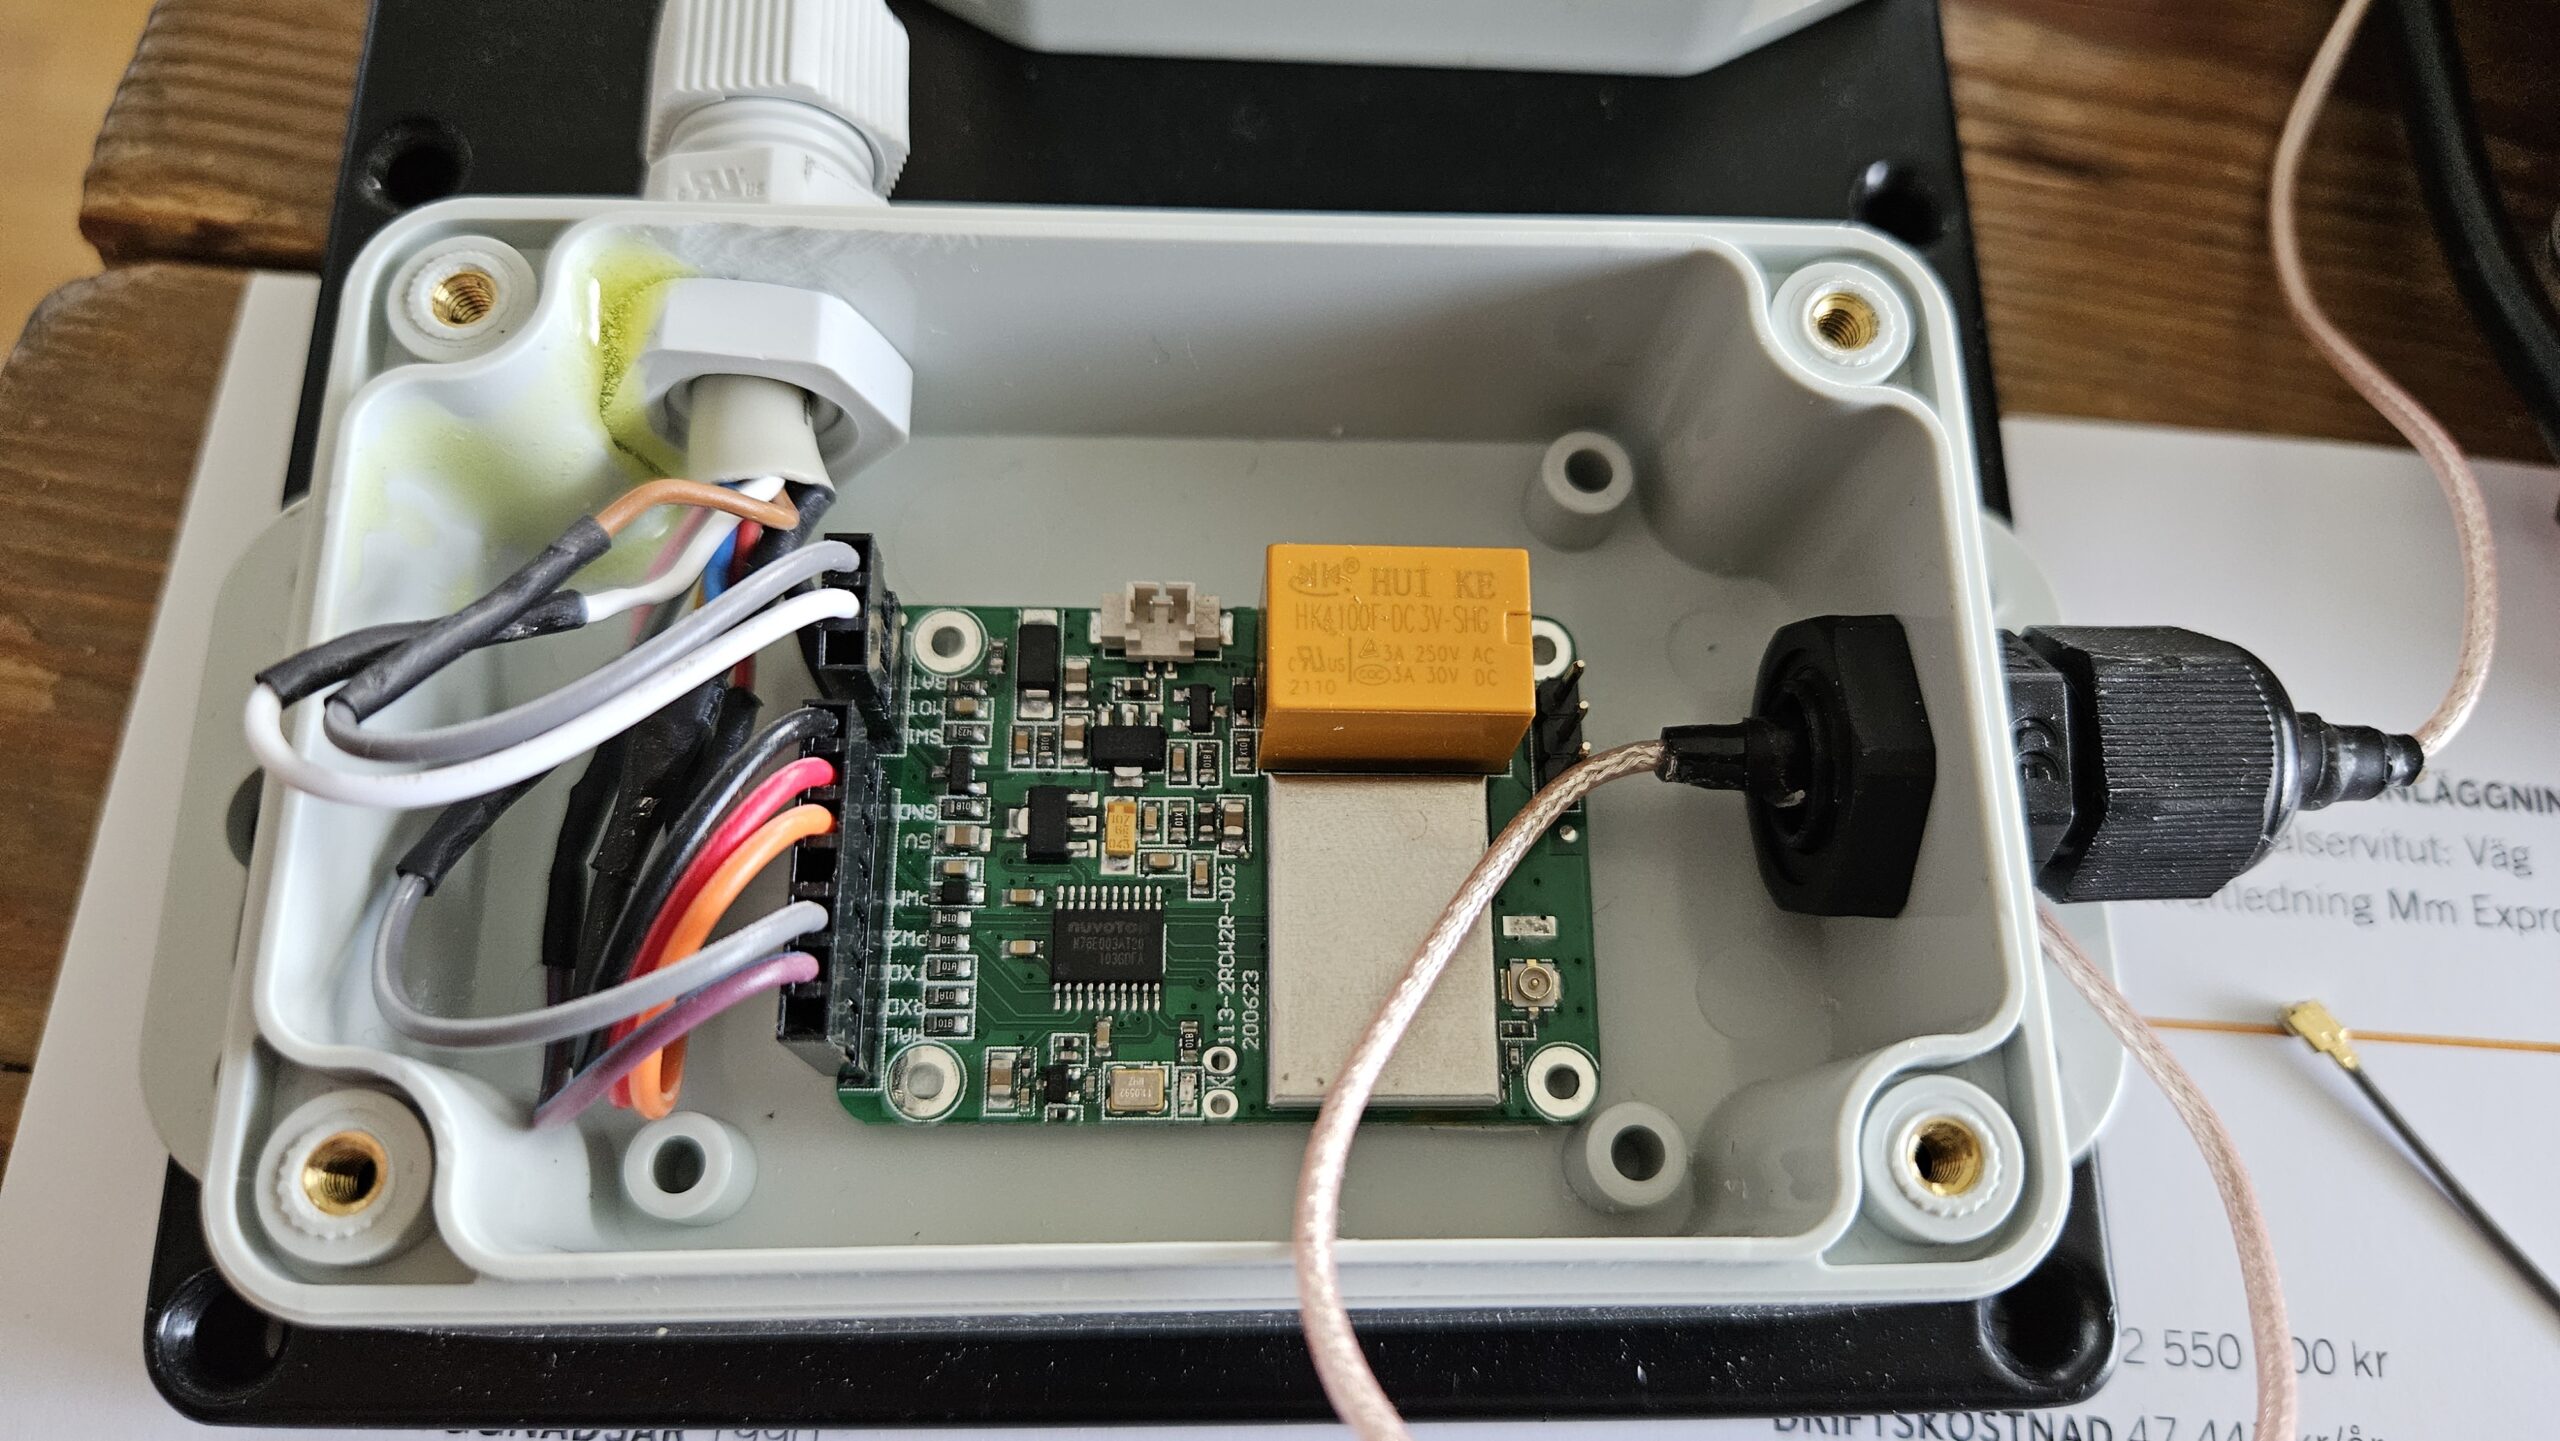
I found the OpenMQTTGateway project and got really interested since it can open up for a lot of interesting integrations to Home Assistant. I bought a LilyGo to start experimenting and could get it to read 433Mhz devices like Nexa. All this is possible due to the RTL_433_ESP library.
I wanted also to be able to write to the devices since I have several power plugs that use Nexa. That is not possible with just the LilyGo and the radio module on it. With the STX882 it should be possible to transmit. So I bought both a STX882 and a SRX882. This page describes how to connect these to a ESP32 or NodeMCU.
Have not yet tried to make the full setup and connect everything. Will update this post once I have tried that.
I found Timbo’s tips on how to make a track from photos but it did not work straight out of the box for me. The problem was two fold; first I needed to change ” to ‘ but also gpsdatetime tag did not exists but changing to DateTimeOriginal made it work: exiftool -r -if '$DateTimeOriginal' -fileOrder DateTimeOriginal -p ./gpx.fmt ./*.jpg > track.gpx
But it also required me to to modify the gpx.fmt file.