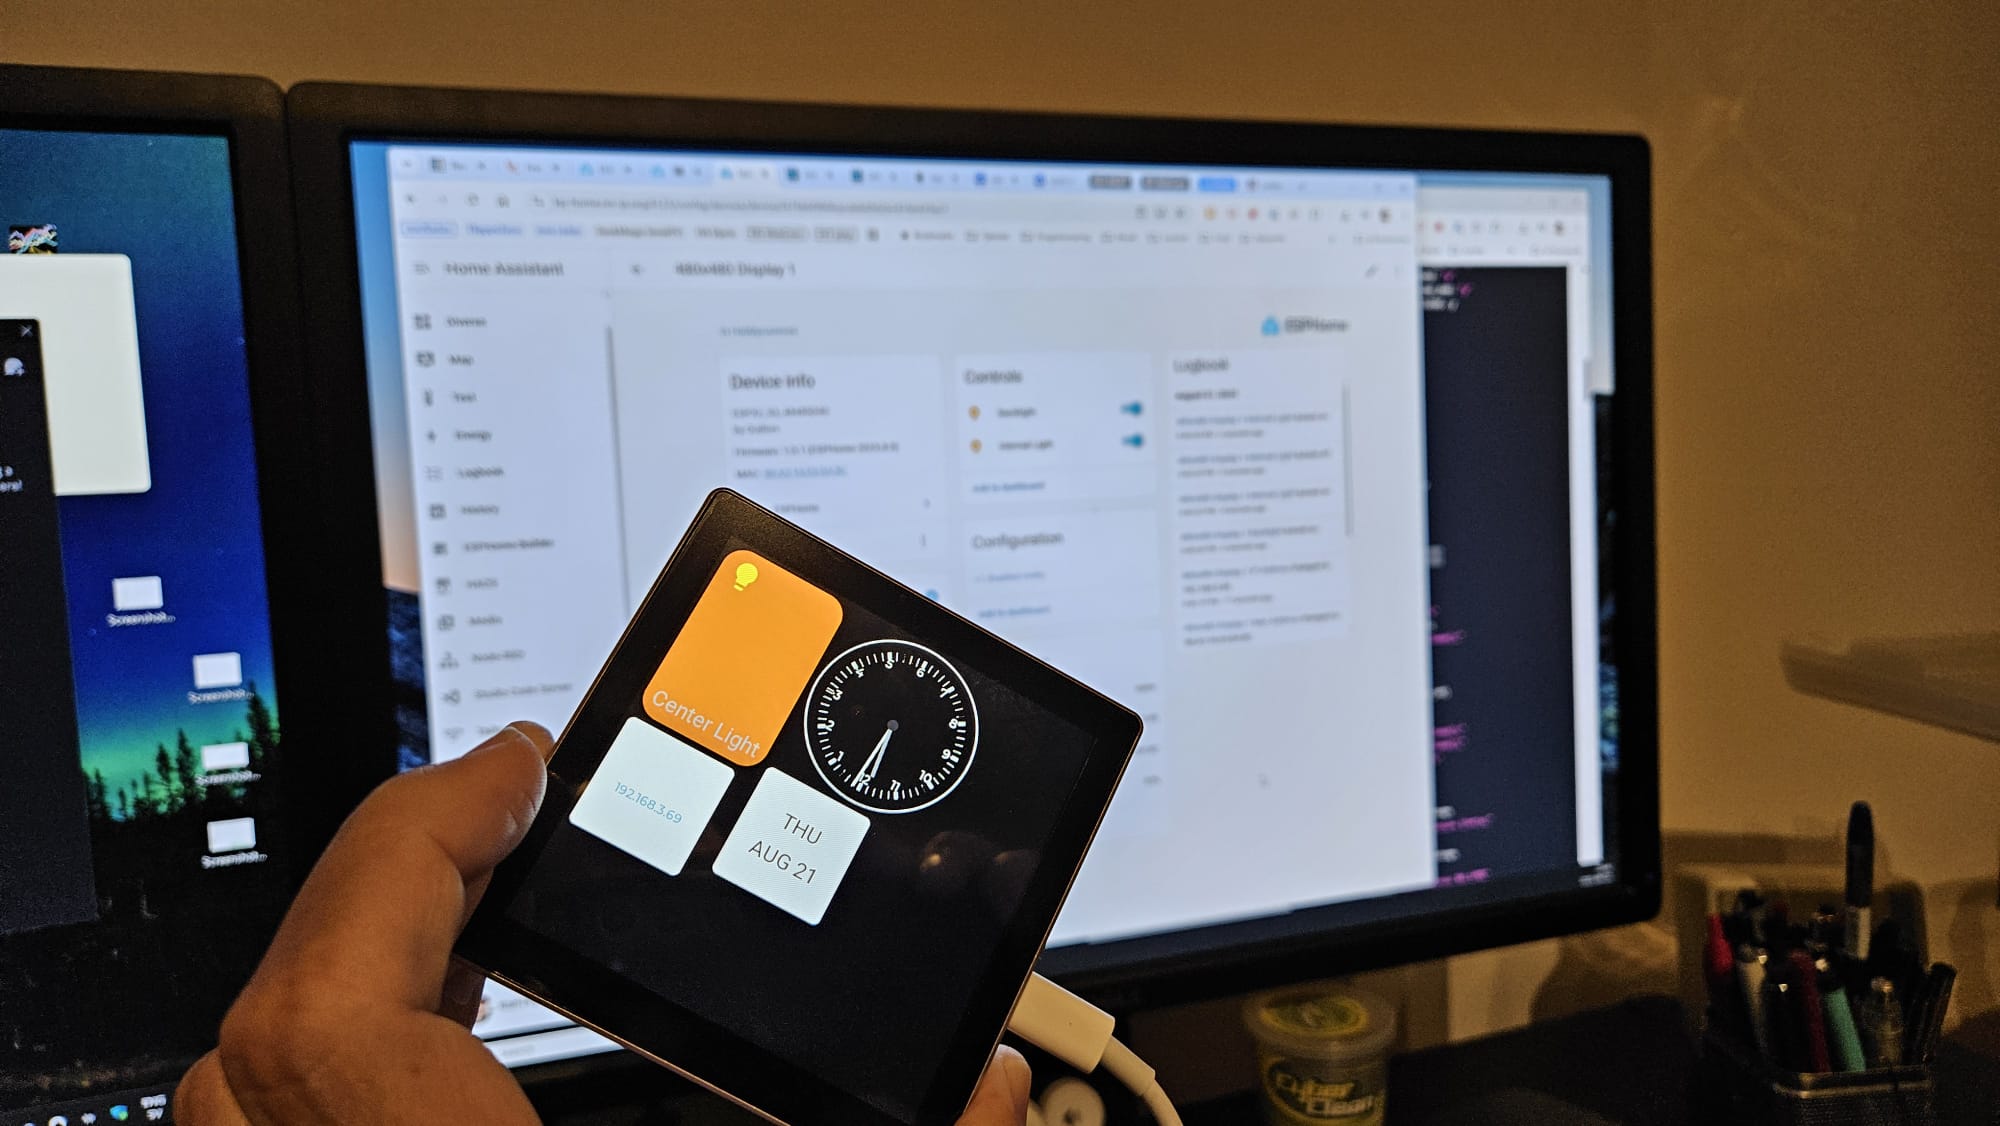
One of my friends told me about the Guiton capacity touch display with GT911 and an integrated ESP32. And it did not cost that much. The Guiton ESPHome config made it easy to get it working in Home Assistant
Some time ago I read about these and they were did not cost much. I bought these from AliExpress. So I ordered some different ones. Recently I found some time to experiment with one of them, the LD2450 (The AliExpress item I bought). On the product page there is a link to a Google drive with documents and software for this module.
I had previously tried one of the others briefly but unsuccessfully. So this time I took a bit different path.
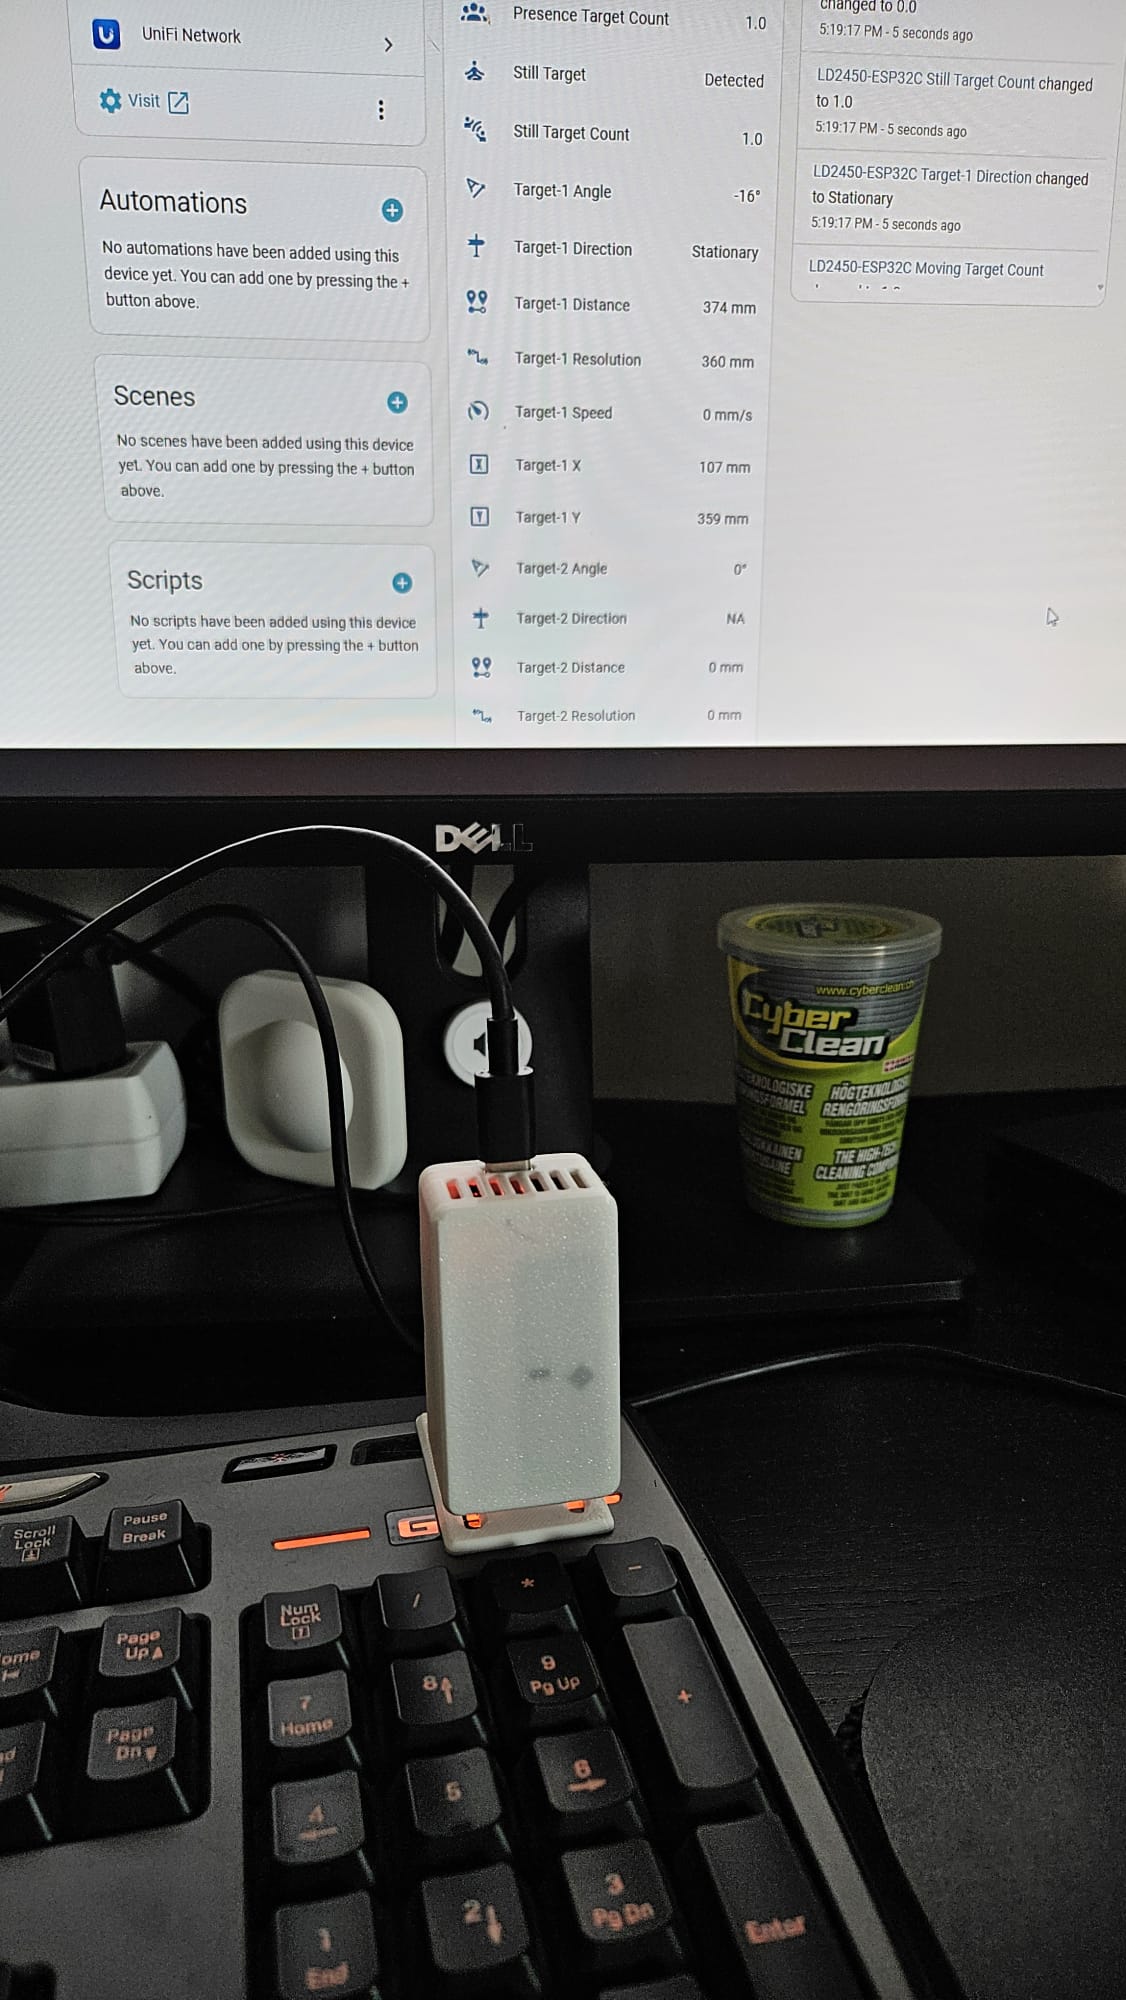
I read that several (maybe all?) of these has built in Bluetooth so I downloaded the HLKRadarTool (iOS or Android) to my phone and powered up the module and connected the phone to it. It worked directly and it was easy to evaluate how the device performed.
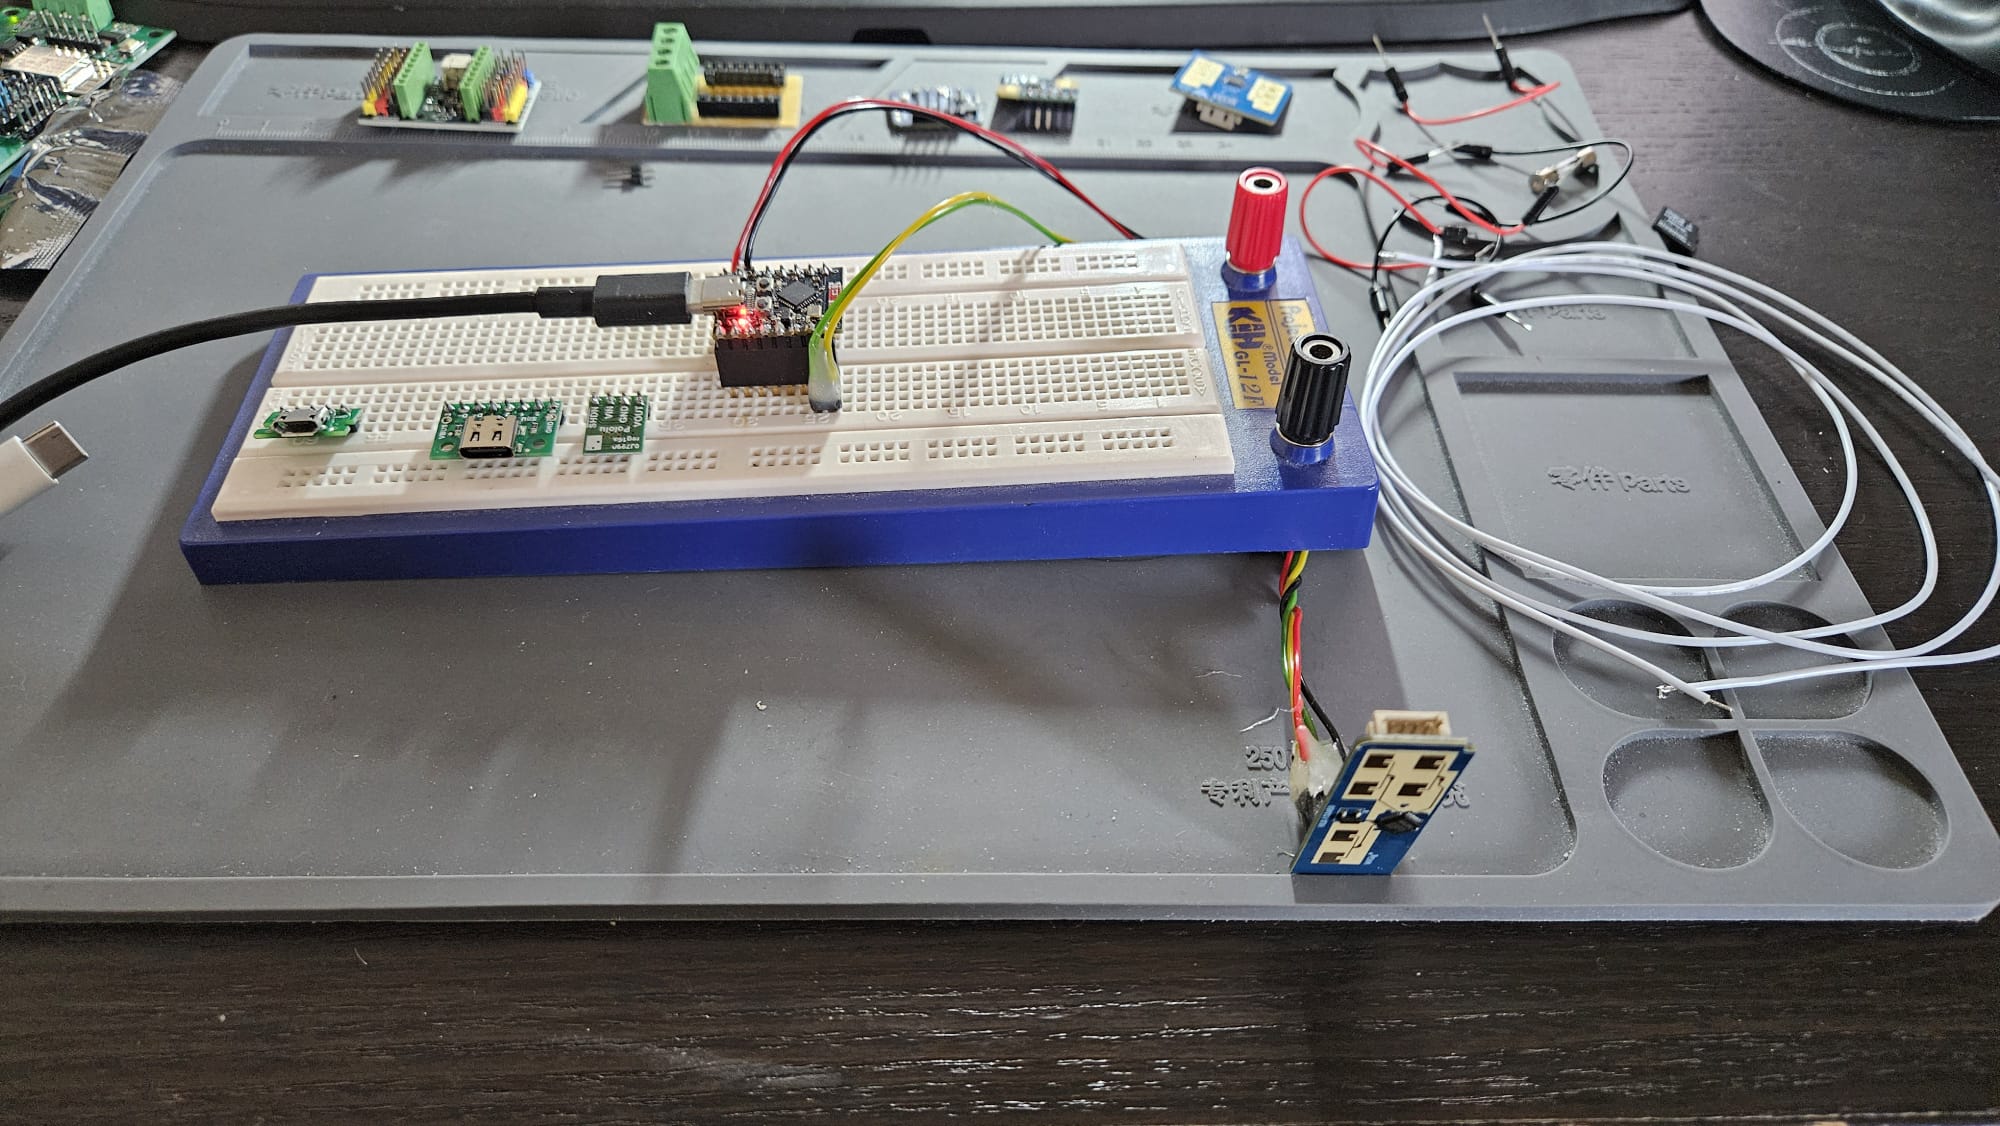
Once I know it worked well it was time to connect it to an ESP32. The manual made it easy to understand what pins to use on the radar module. I had some ESP32-C3 modules at home so I decided to use it. The model I had was Tenstar Robot Super Mini and the pinout made it easy to figure out how to connect RX and TX on the sensor to TX and RX on the ESP32.
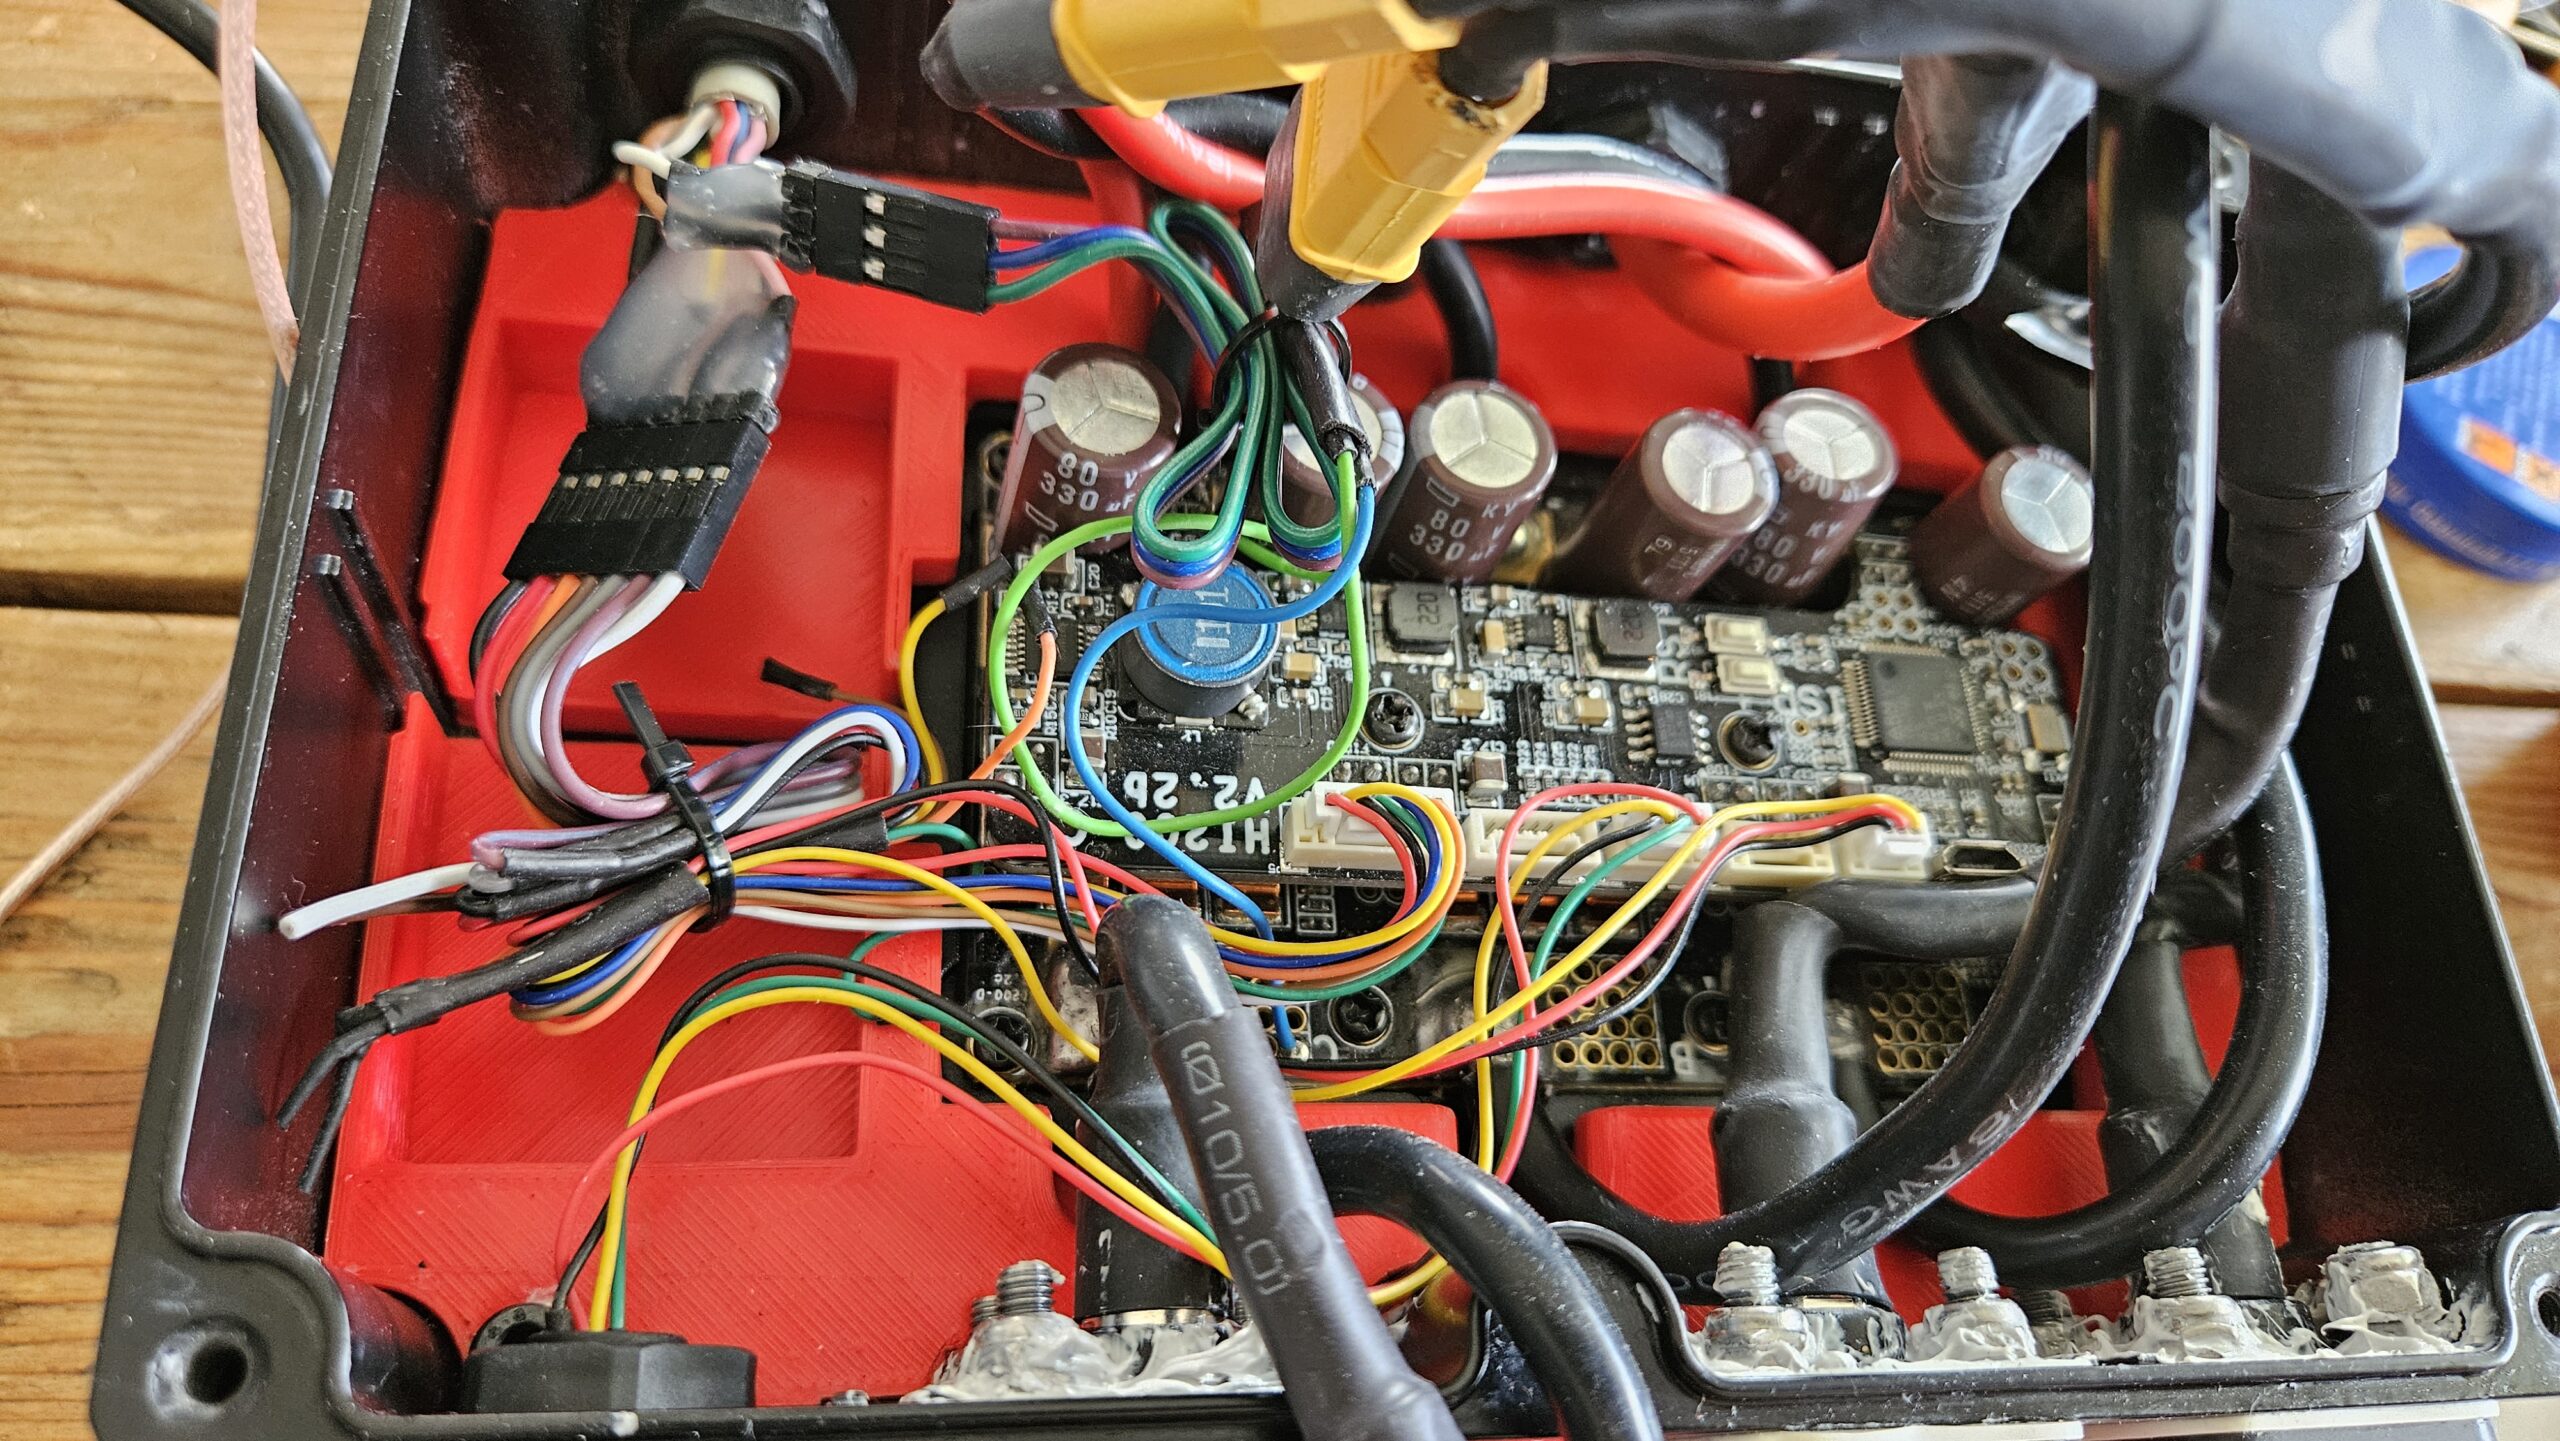
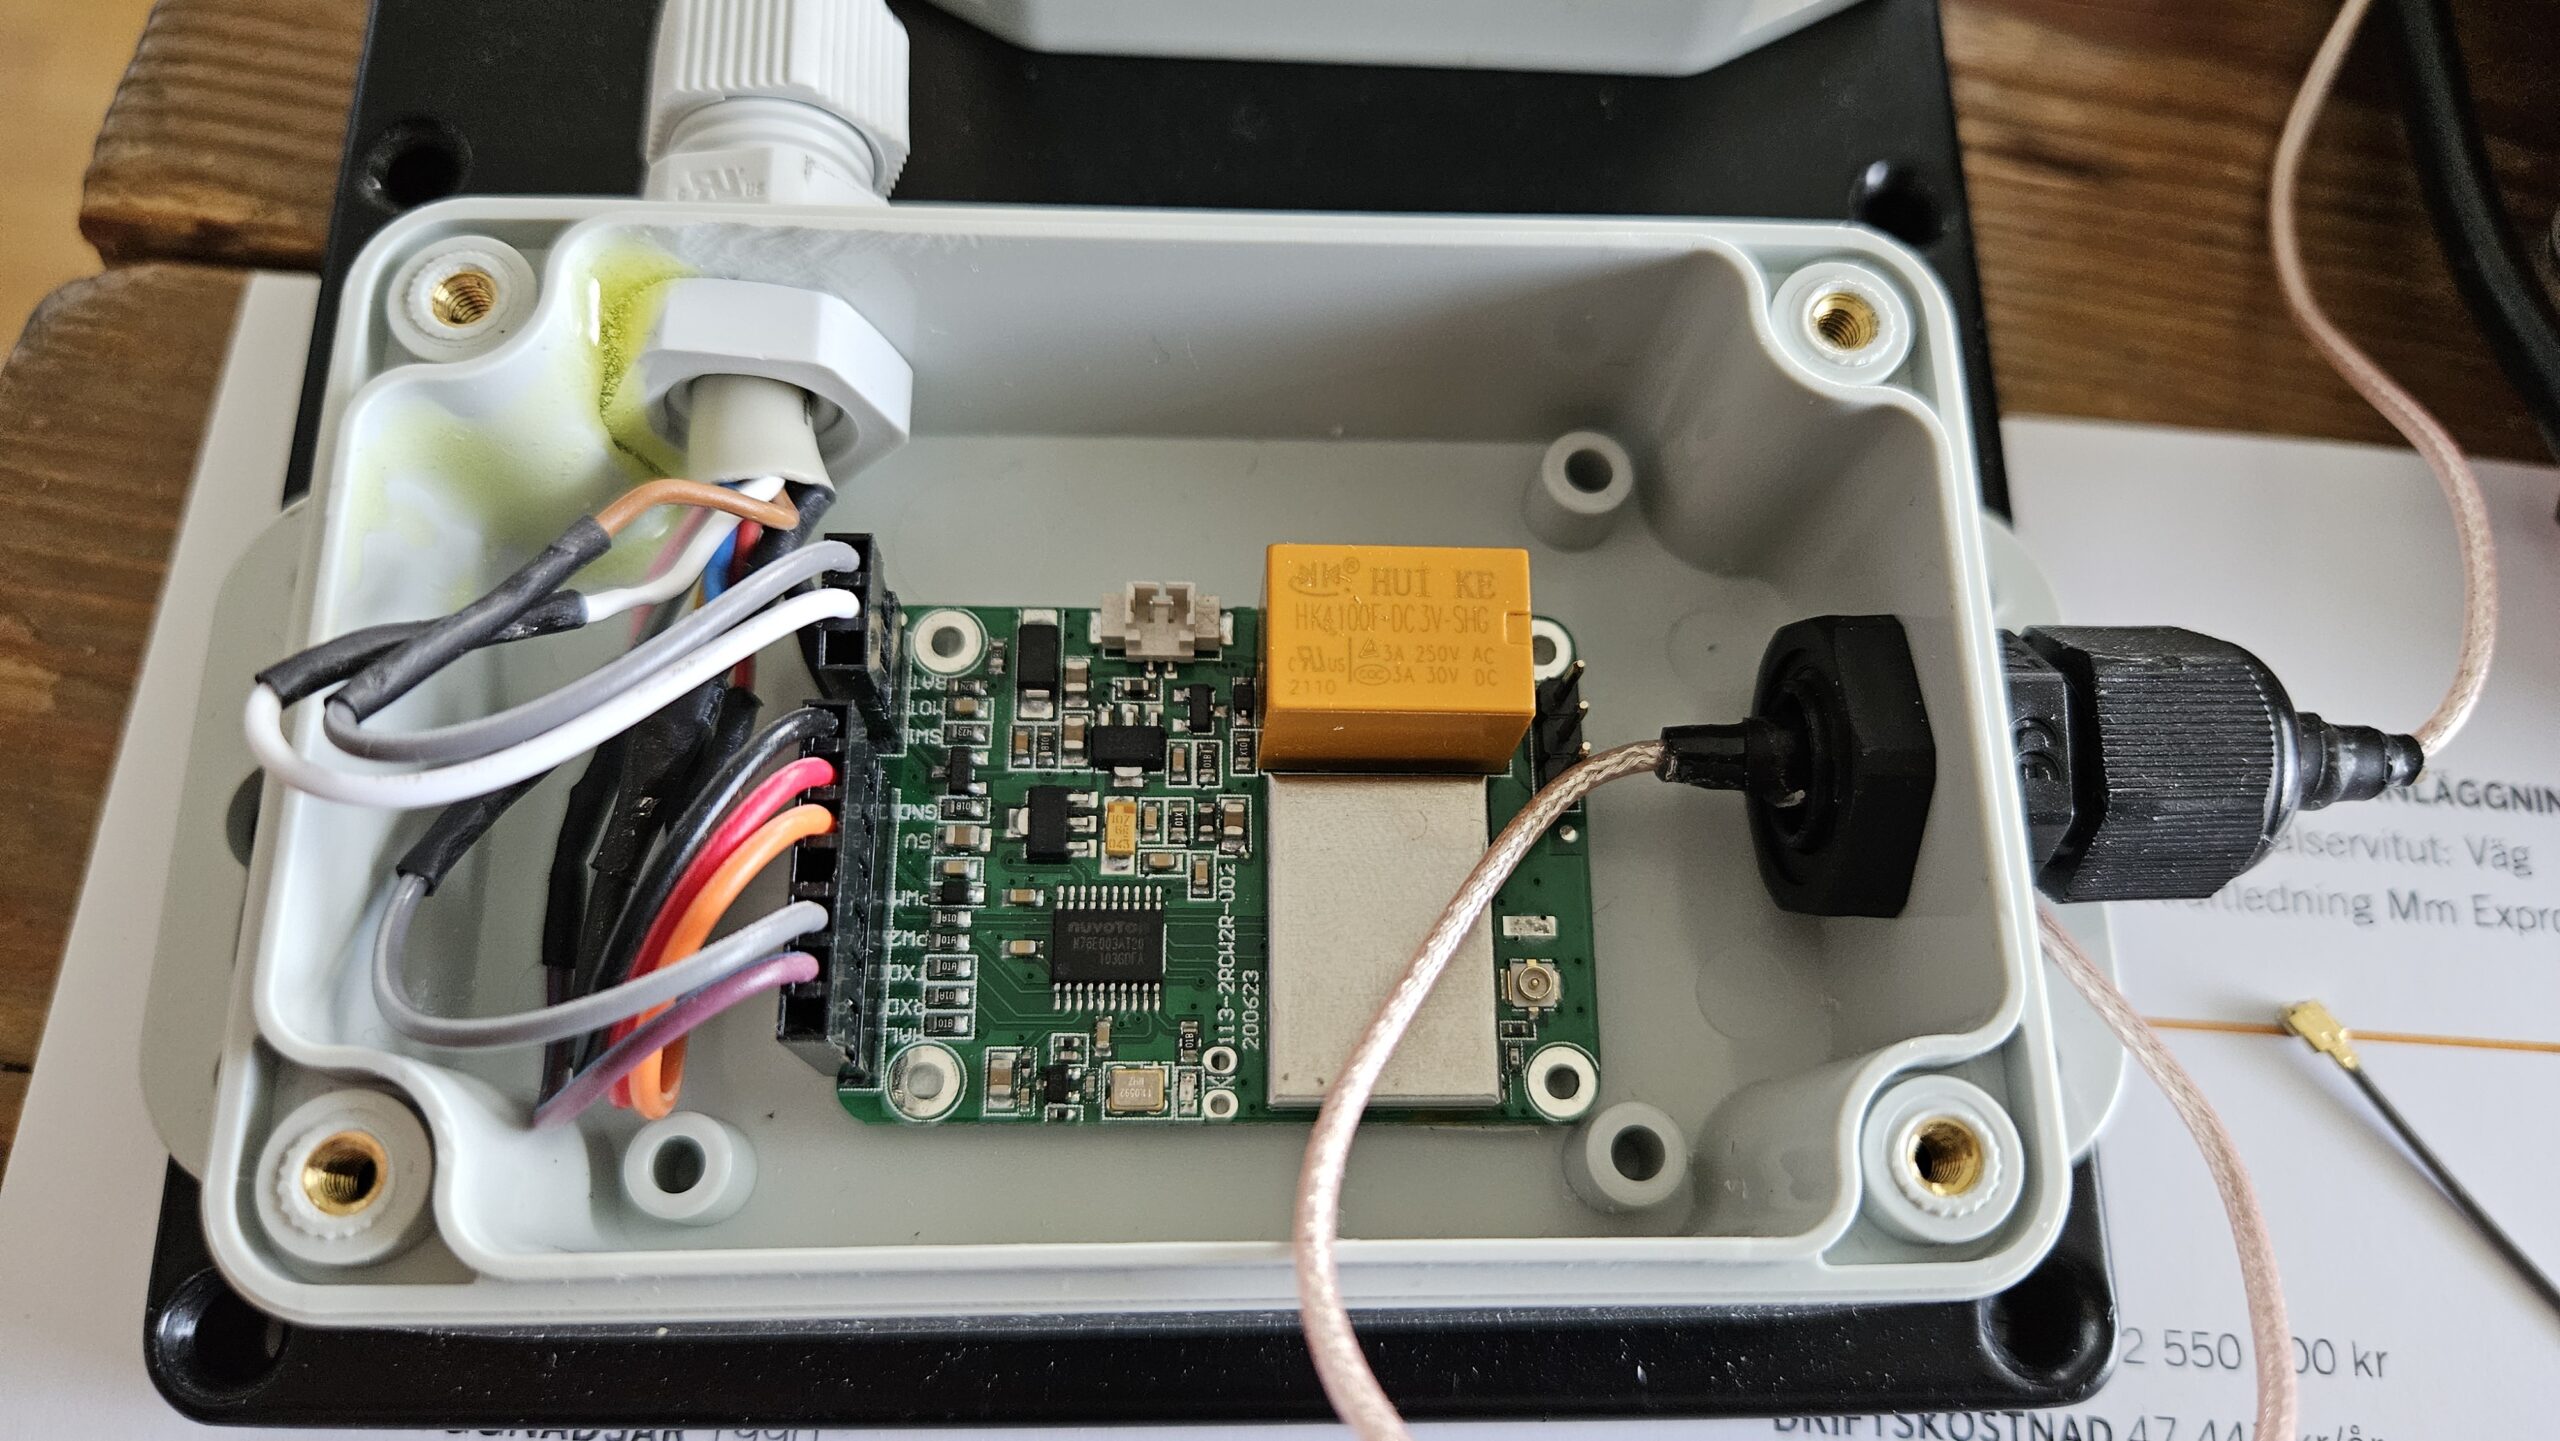
There is a circuits diagram on the Maytech page which makes it easy to connect the remote receiver and the VESC together using the pinout picture on the MakerX page.
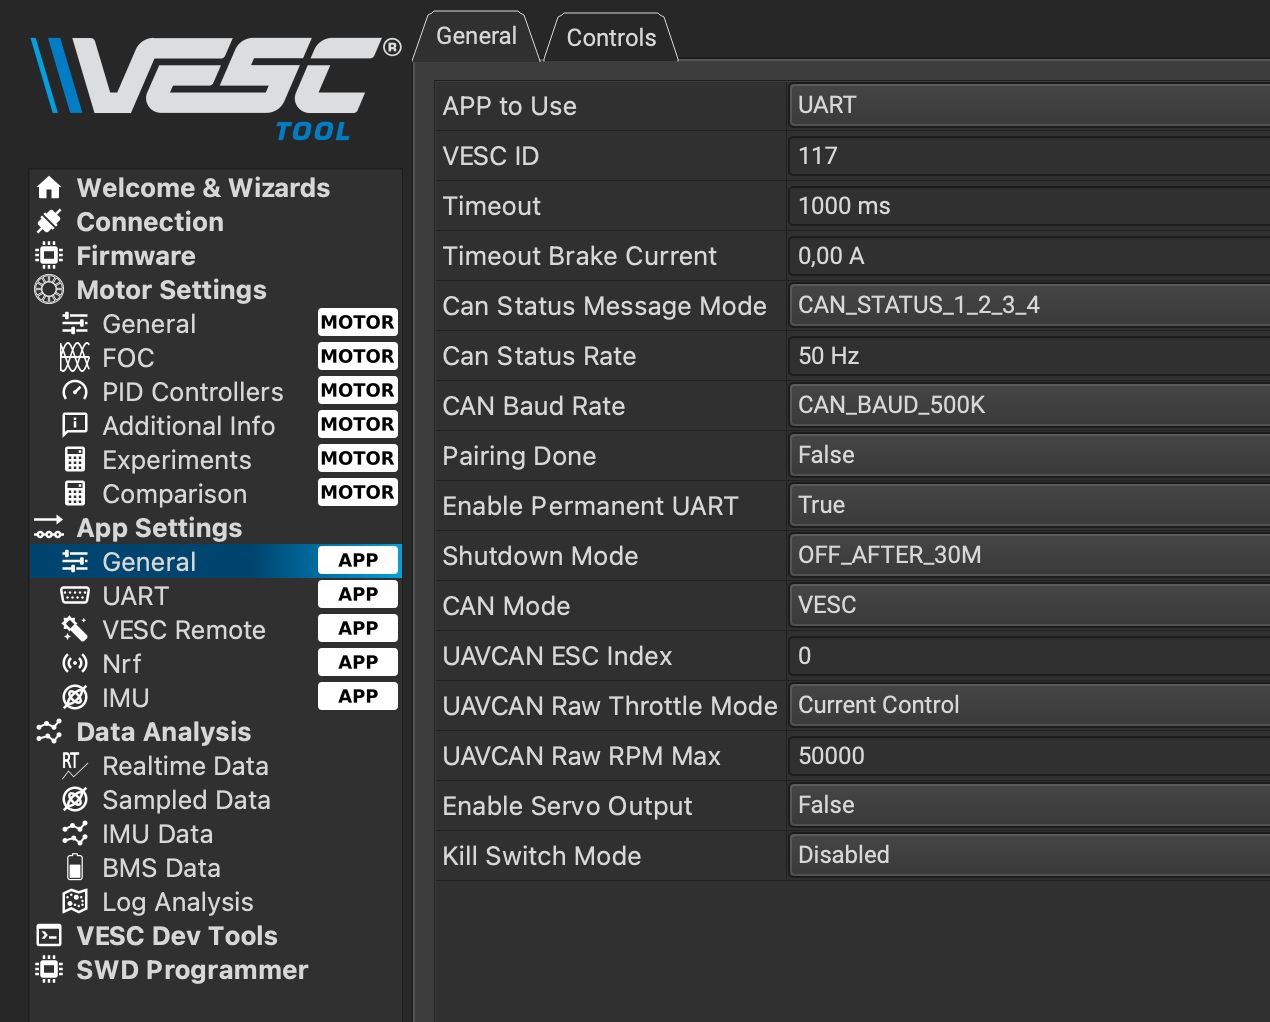
VESC App settings:
if you are using firmware version 5.03 (VESC TOOL 3.1) or above – turn off the phase filter, see here for more details
Set App to Use to UART – gives much quicker response than the Maytech recommended UART and PPM.
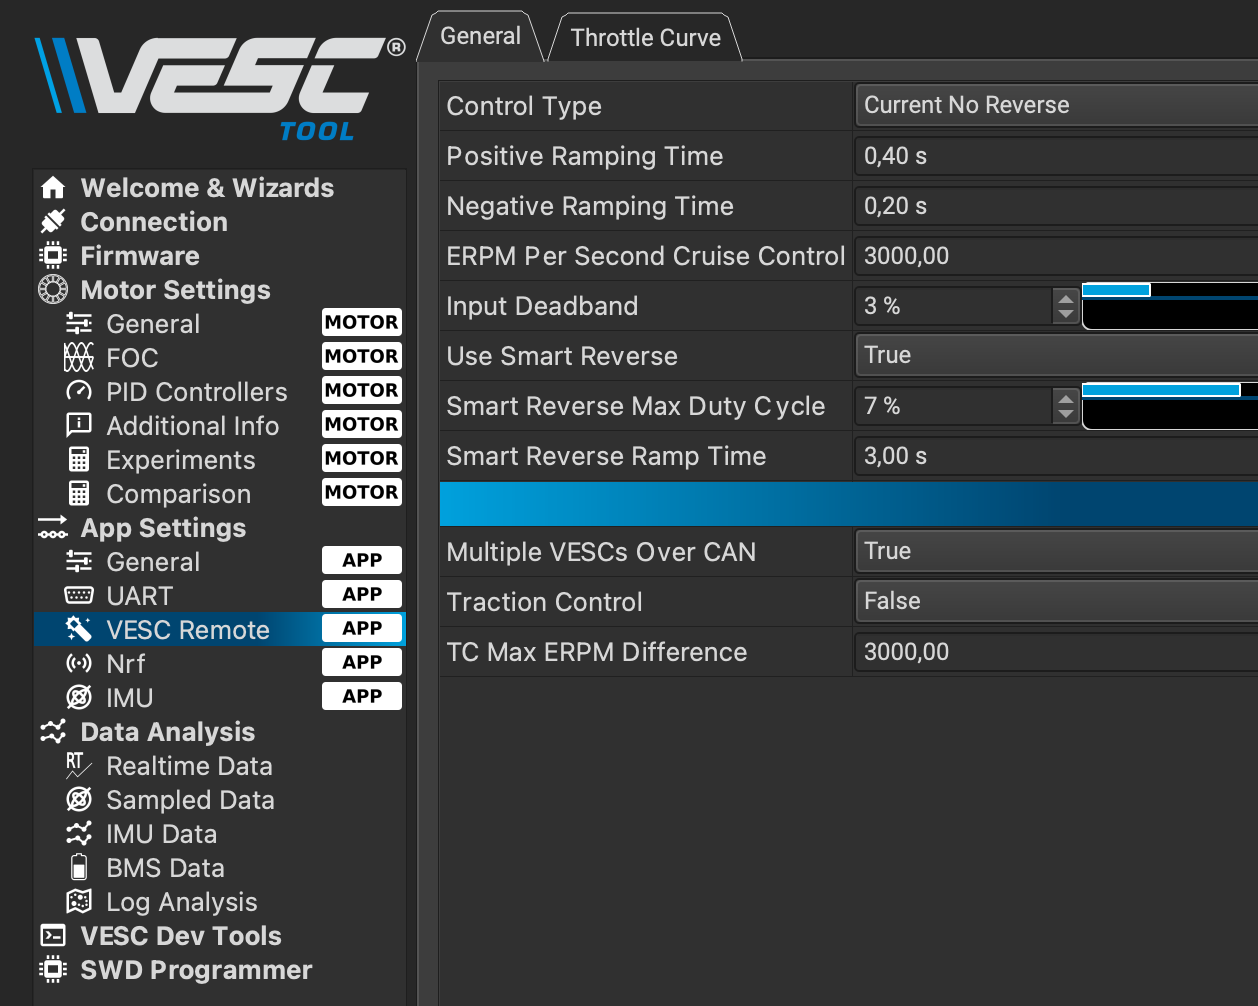
Use the Maytech recommended Control Type: Current No Reverse under VESC Remote
For quicker response on the remote, change the Input Deadband to something like 3% under VESC Remote
VESC Motor Settings:
Set Motor Current Max to 140A
Do not set Motor Current Max Brake to 0A but some negativa number like -1A
Set Absolute Maximum Current to 180A
Here are some screen dumps to better explain the settings
App to Use: UARTVESC Remote settingsMotor Settings
Started flying FPV in October 2020 but have since then blown a couple of ESC. And each time I’m going to setup the new ones I ran into problems so this time I write down some notes to not have that happen again…
The most common problem I run into is that I turn on Bi-directional DShot in BetaFlight but then I get RPM_FILTER Disarm disabled flag turned on!! And cannot figure out why??
The answer and solution is quite simple. The default ESC firmware does not support bidirectional DShot! And this article describes how to get it. The ESCs I have one need to use BLHeli_S firmware. On my Nazgul 5 2 HD the ESC has the G H 30 configuration and currently I’m using version 16.73. So I download the G_H_30_REV16_73.HEX firmware and use BLHeli Configuration to flash it. Other versions can be downloaded from https://github.com/JazzMaverick/BLHeli/tree/JazzMaverick-patch-1/BLHeli_S%20SiLabs